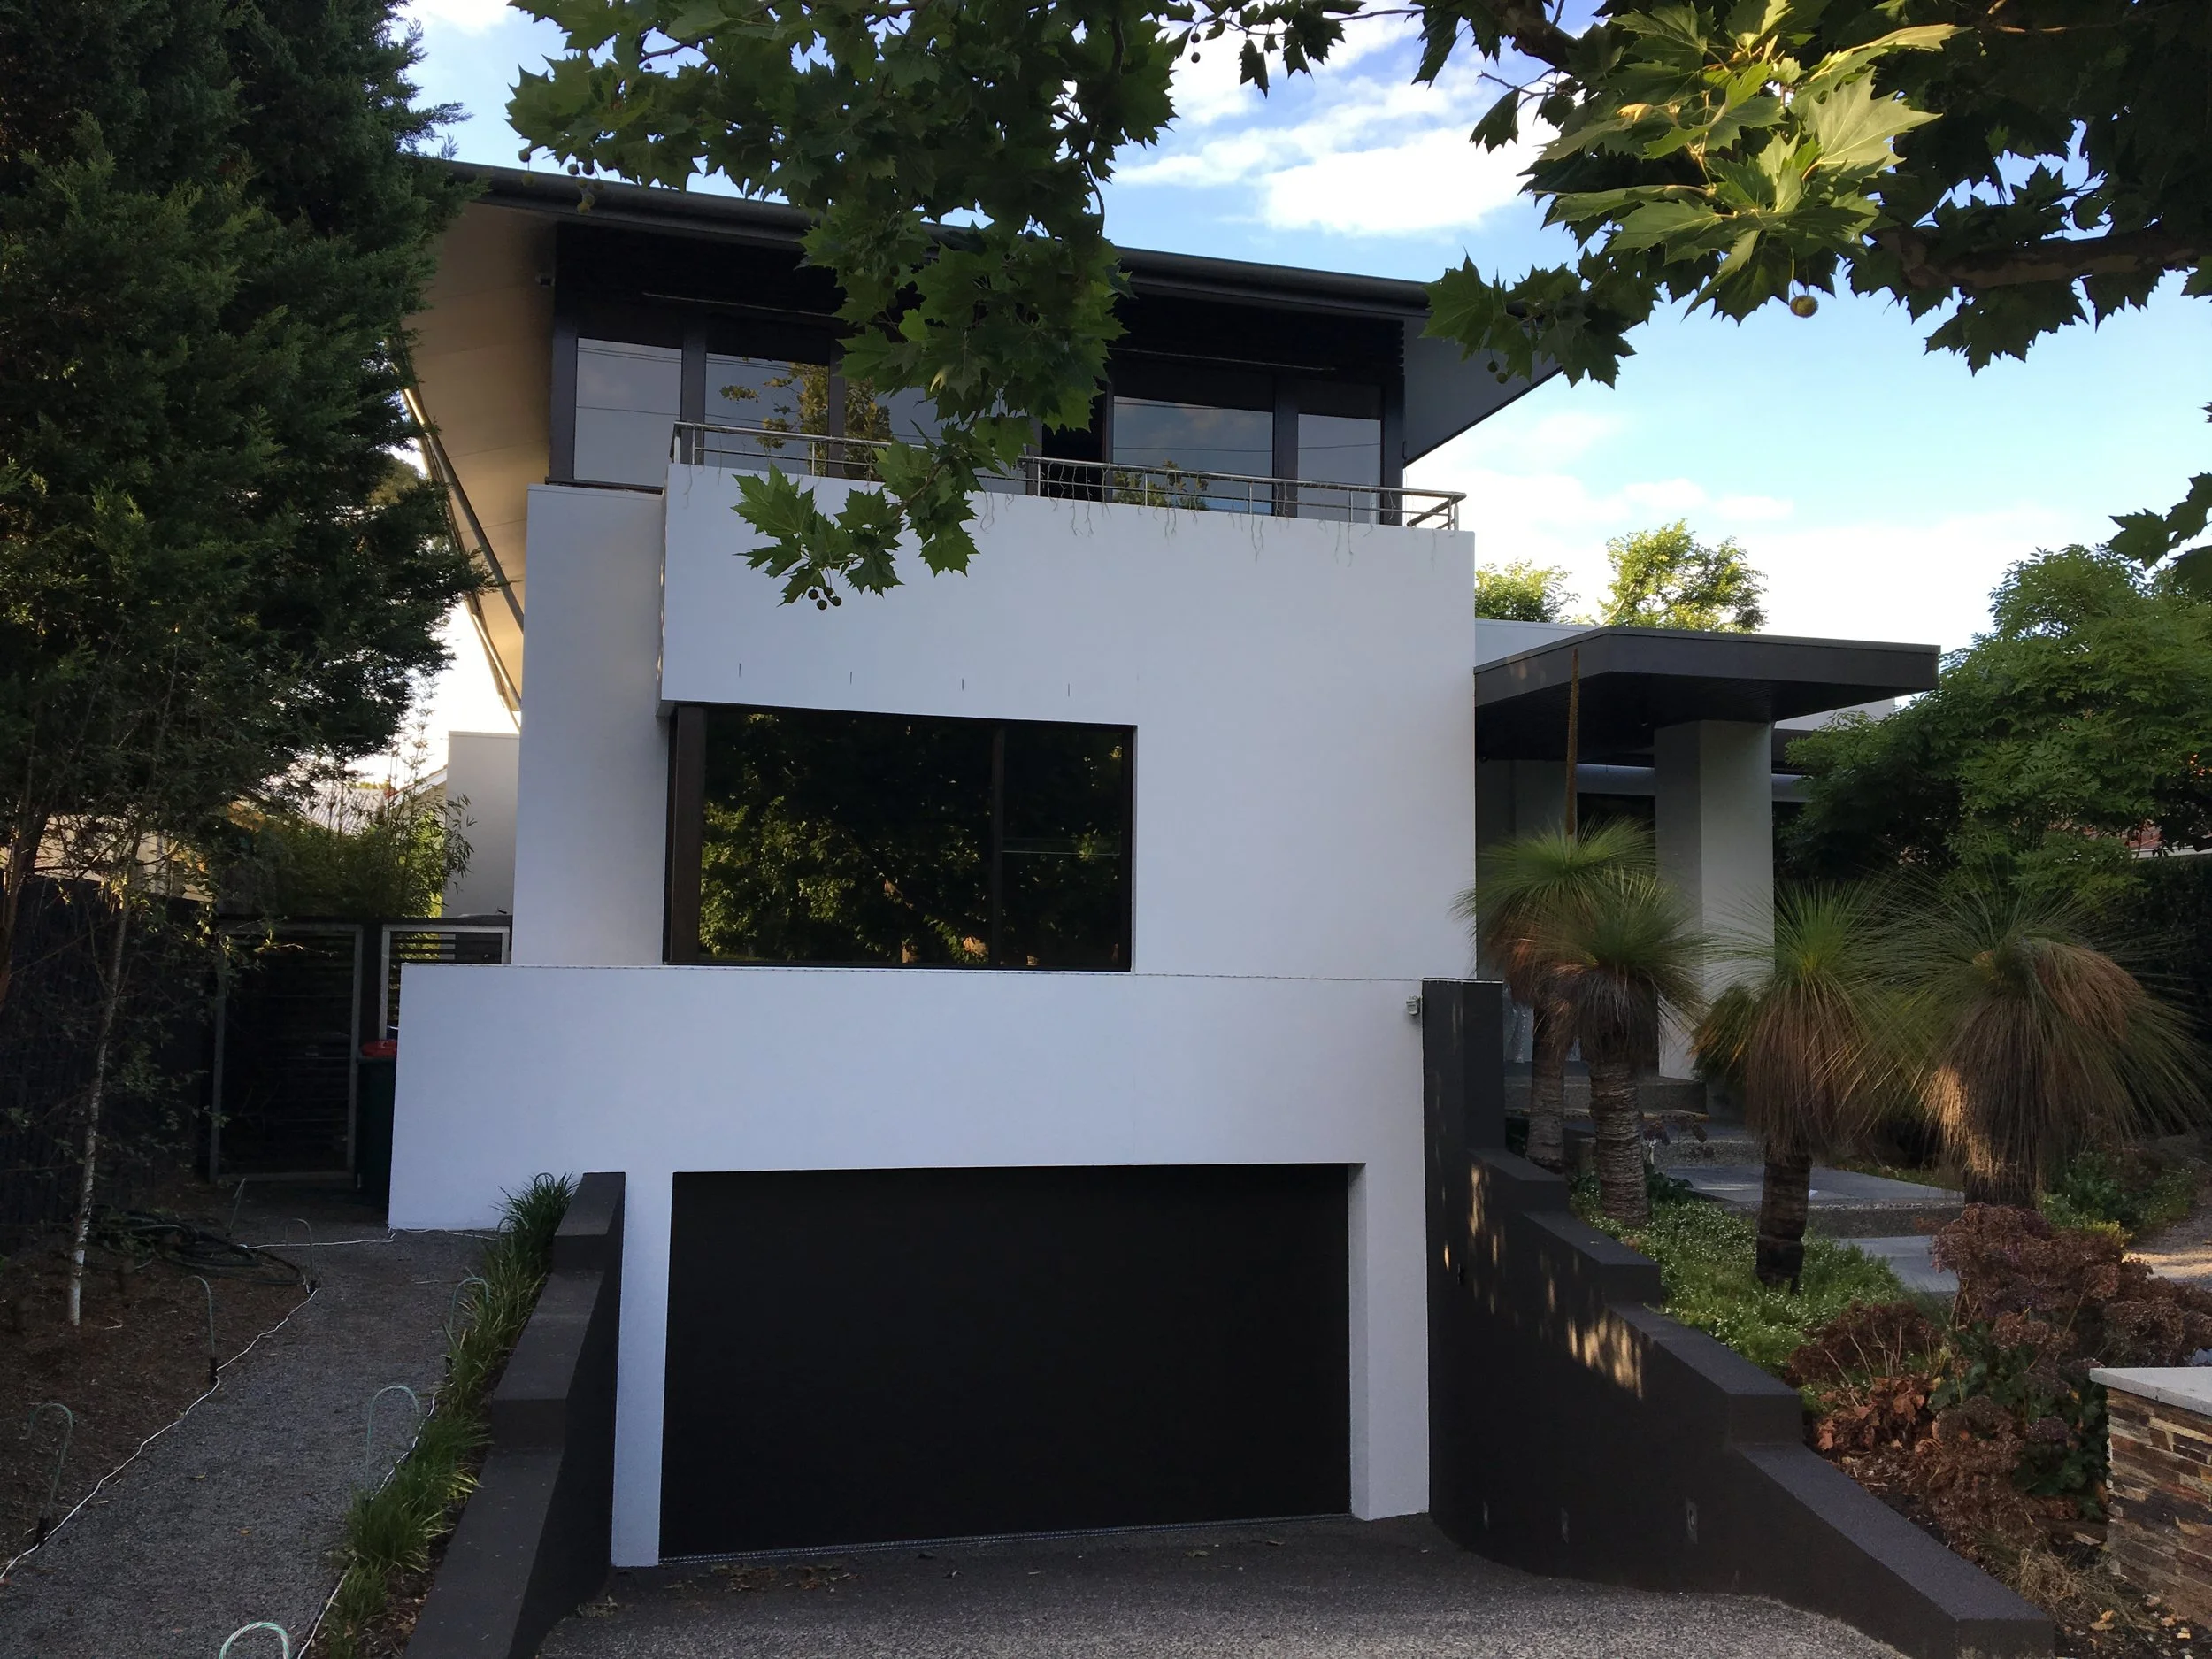
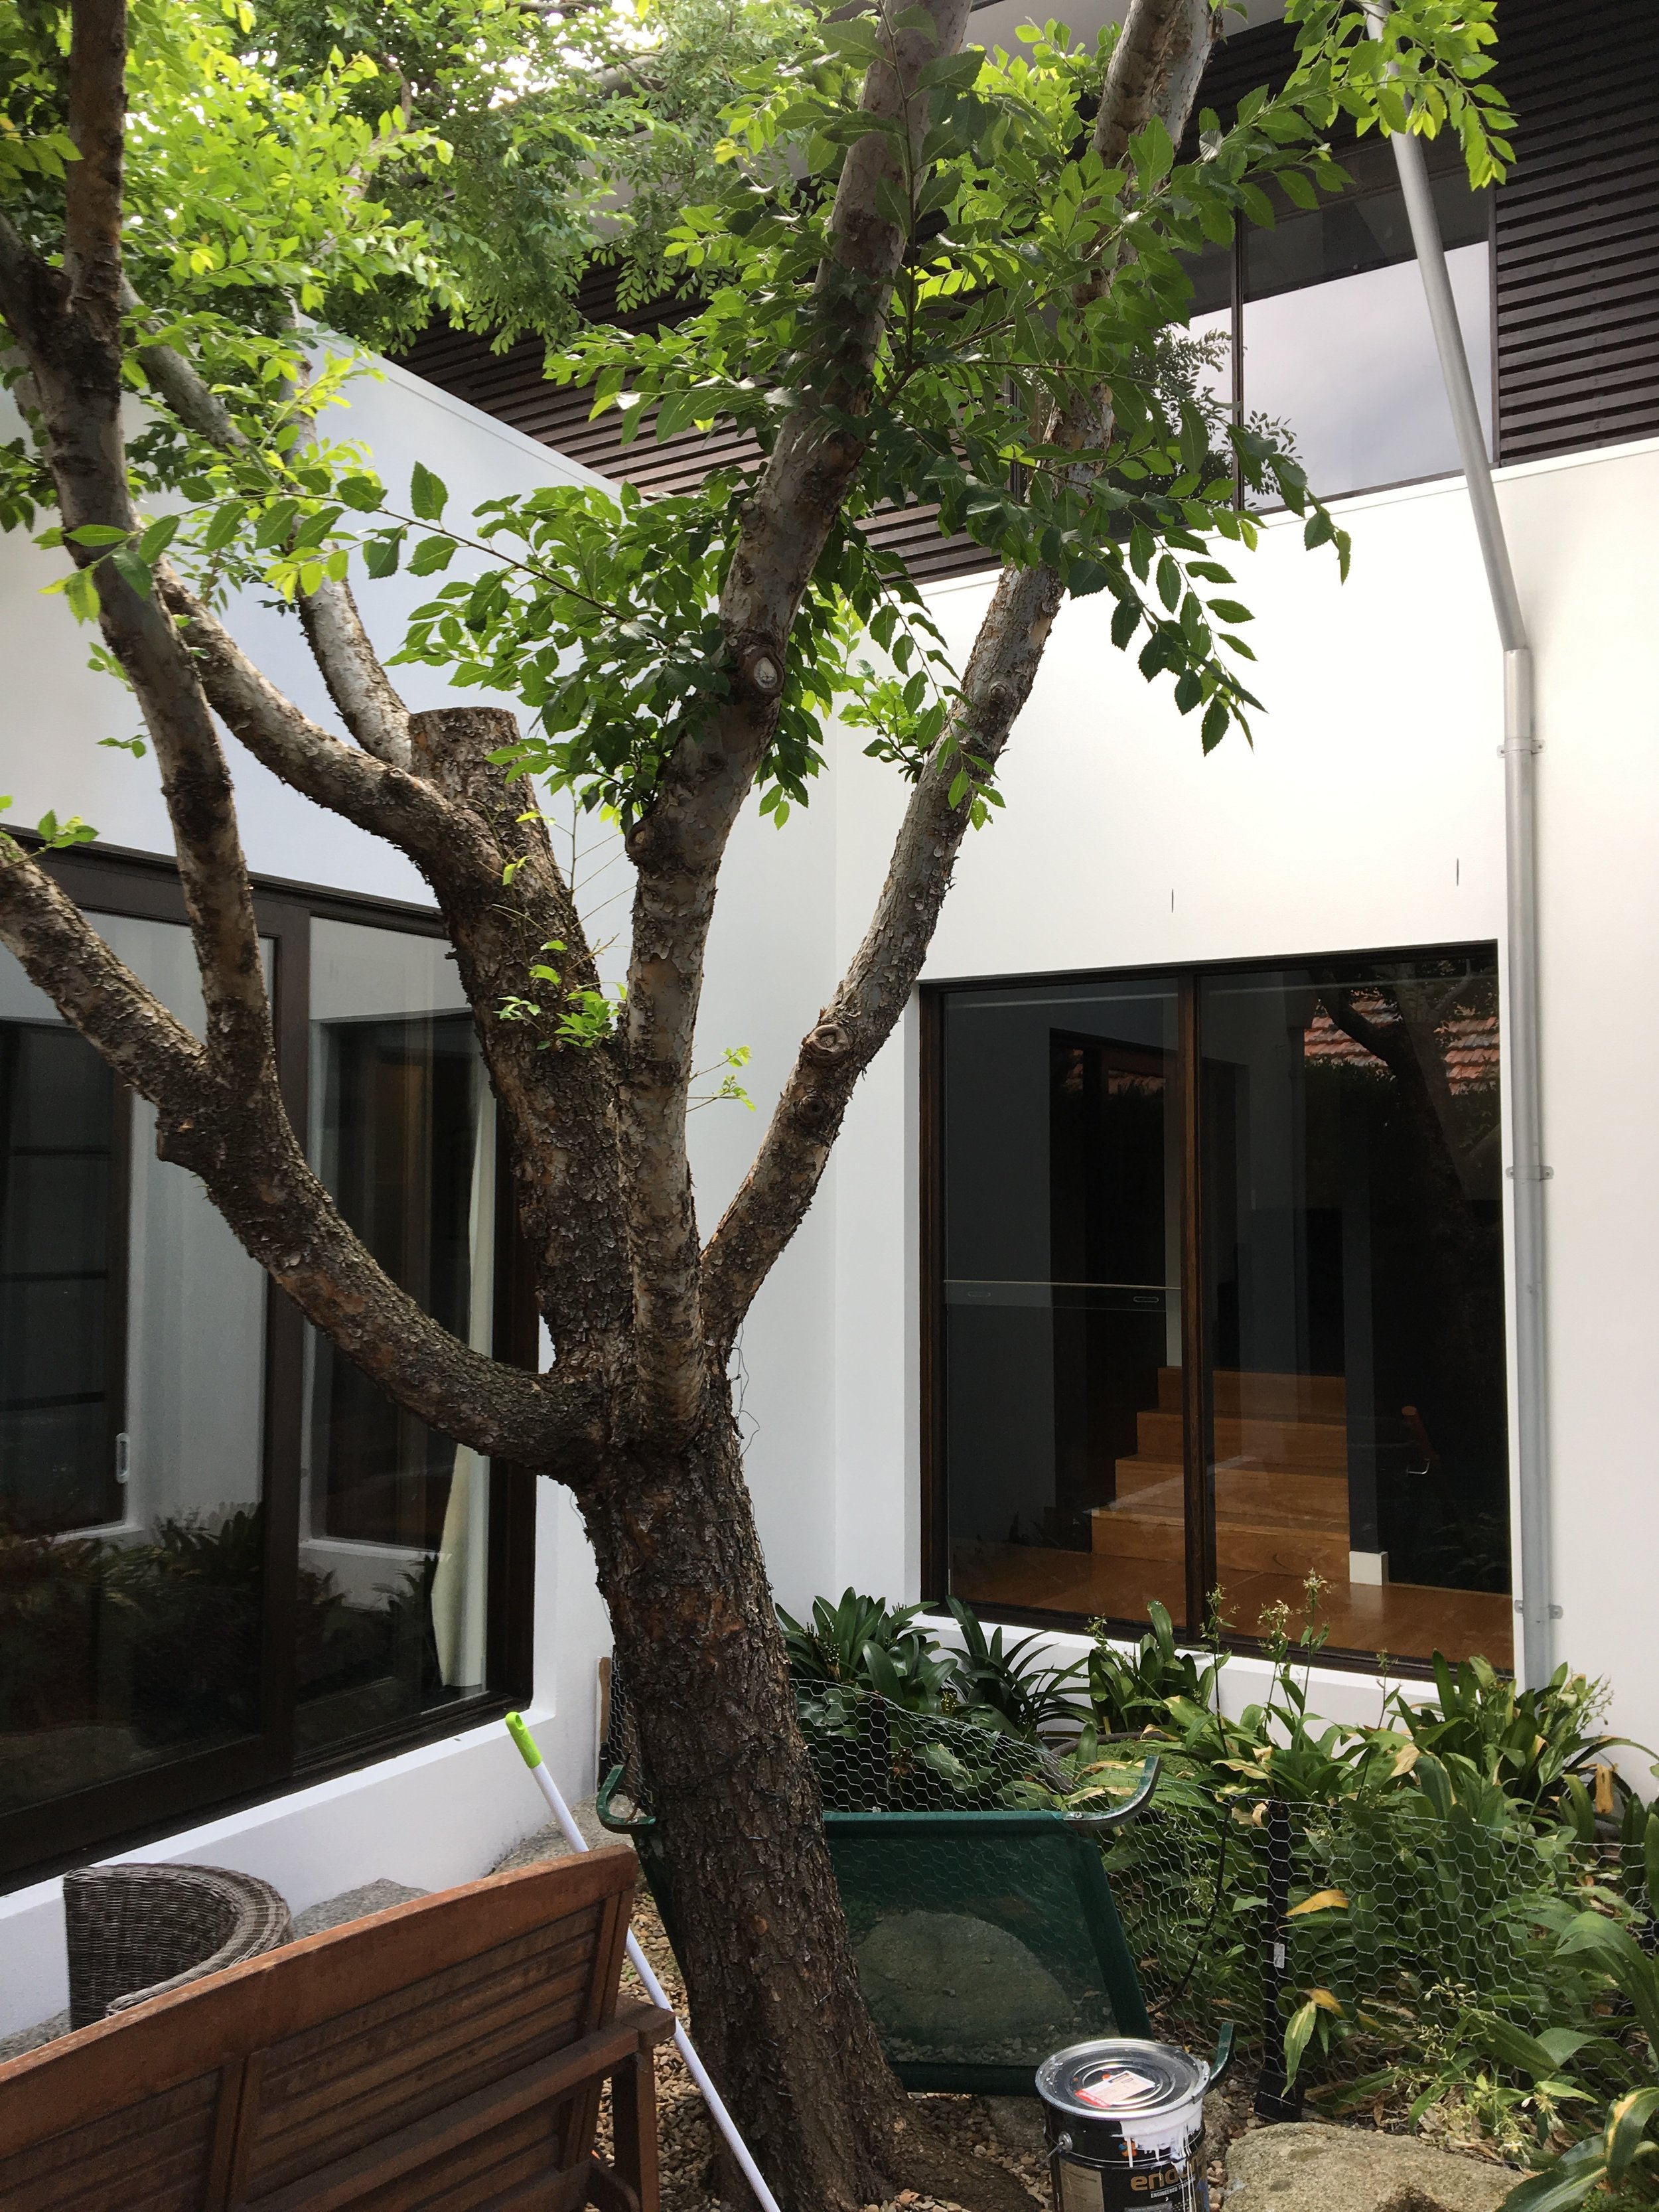
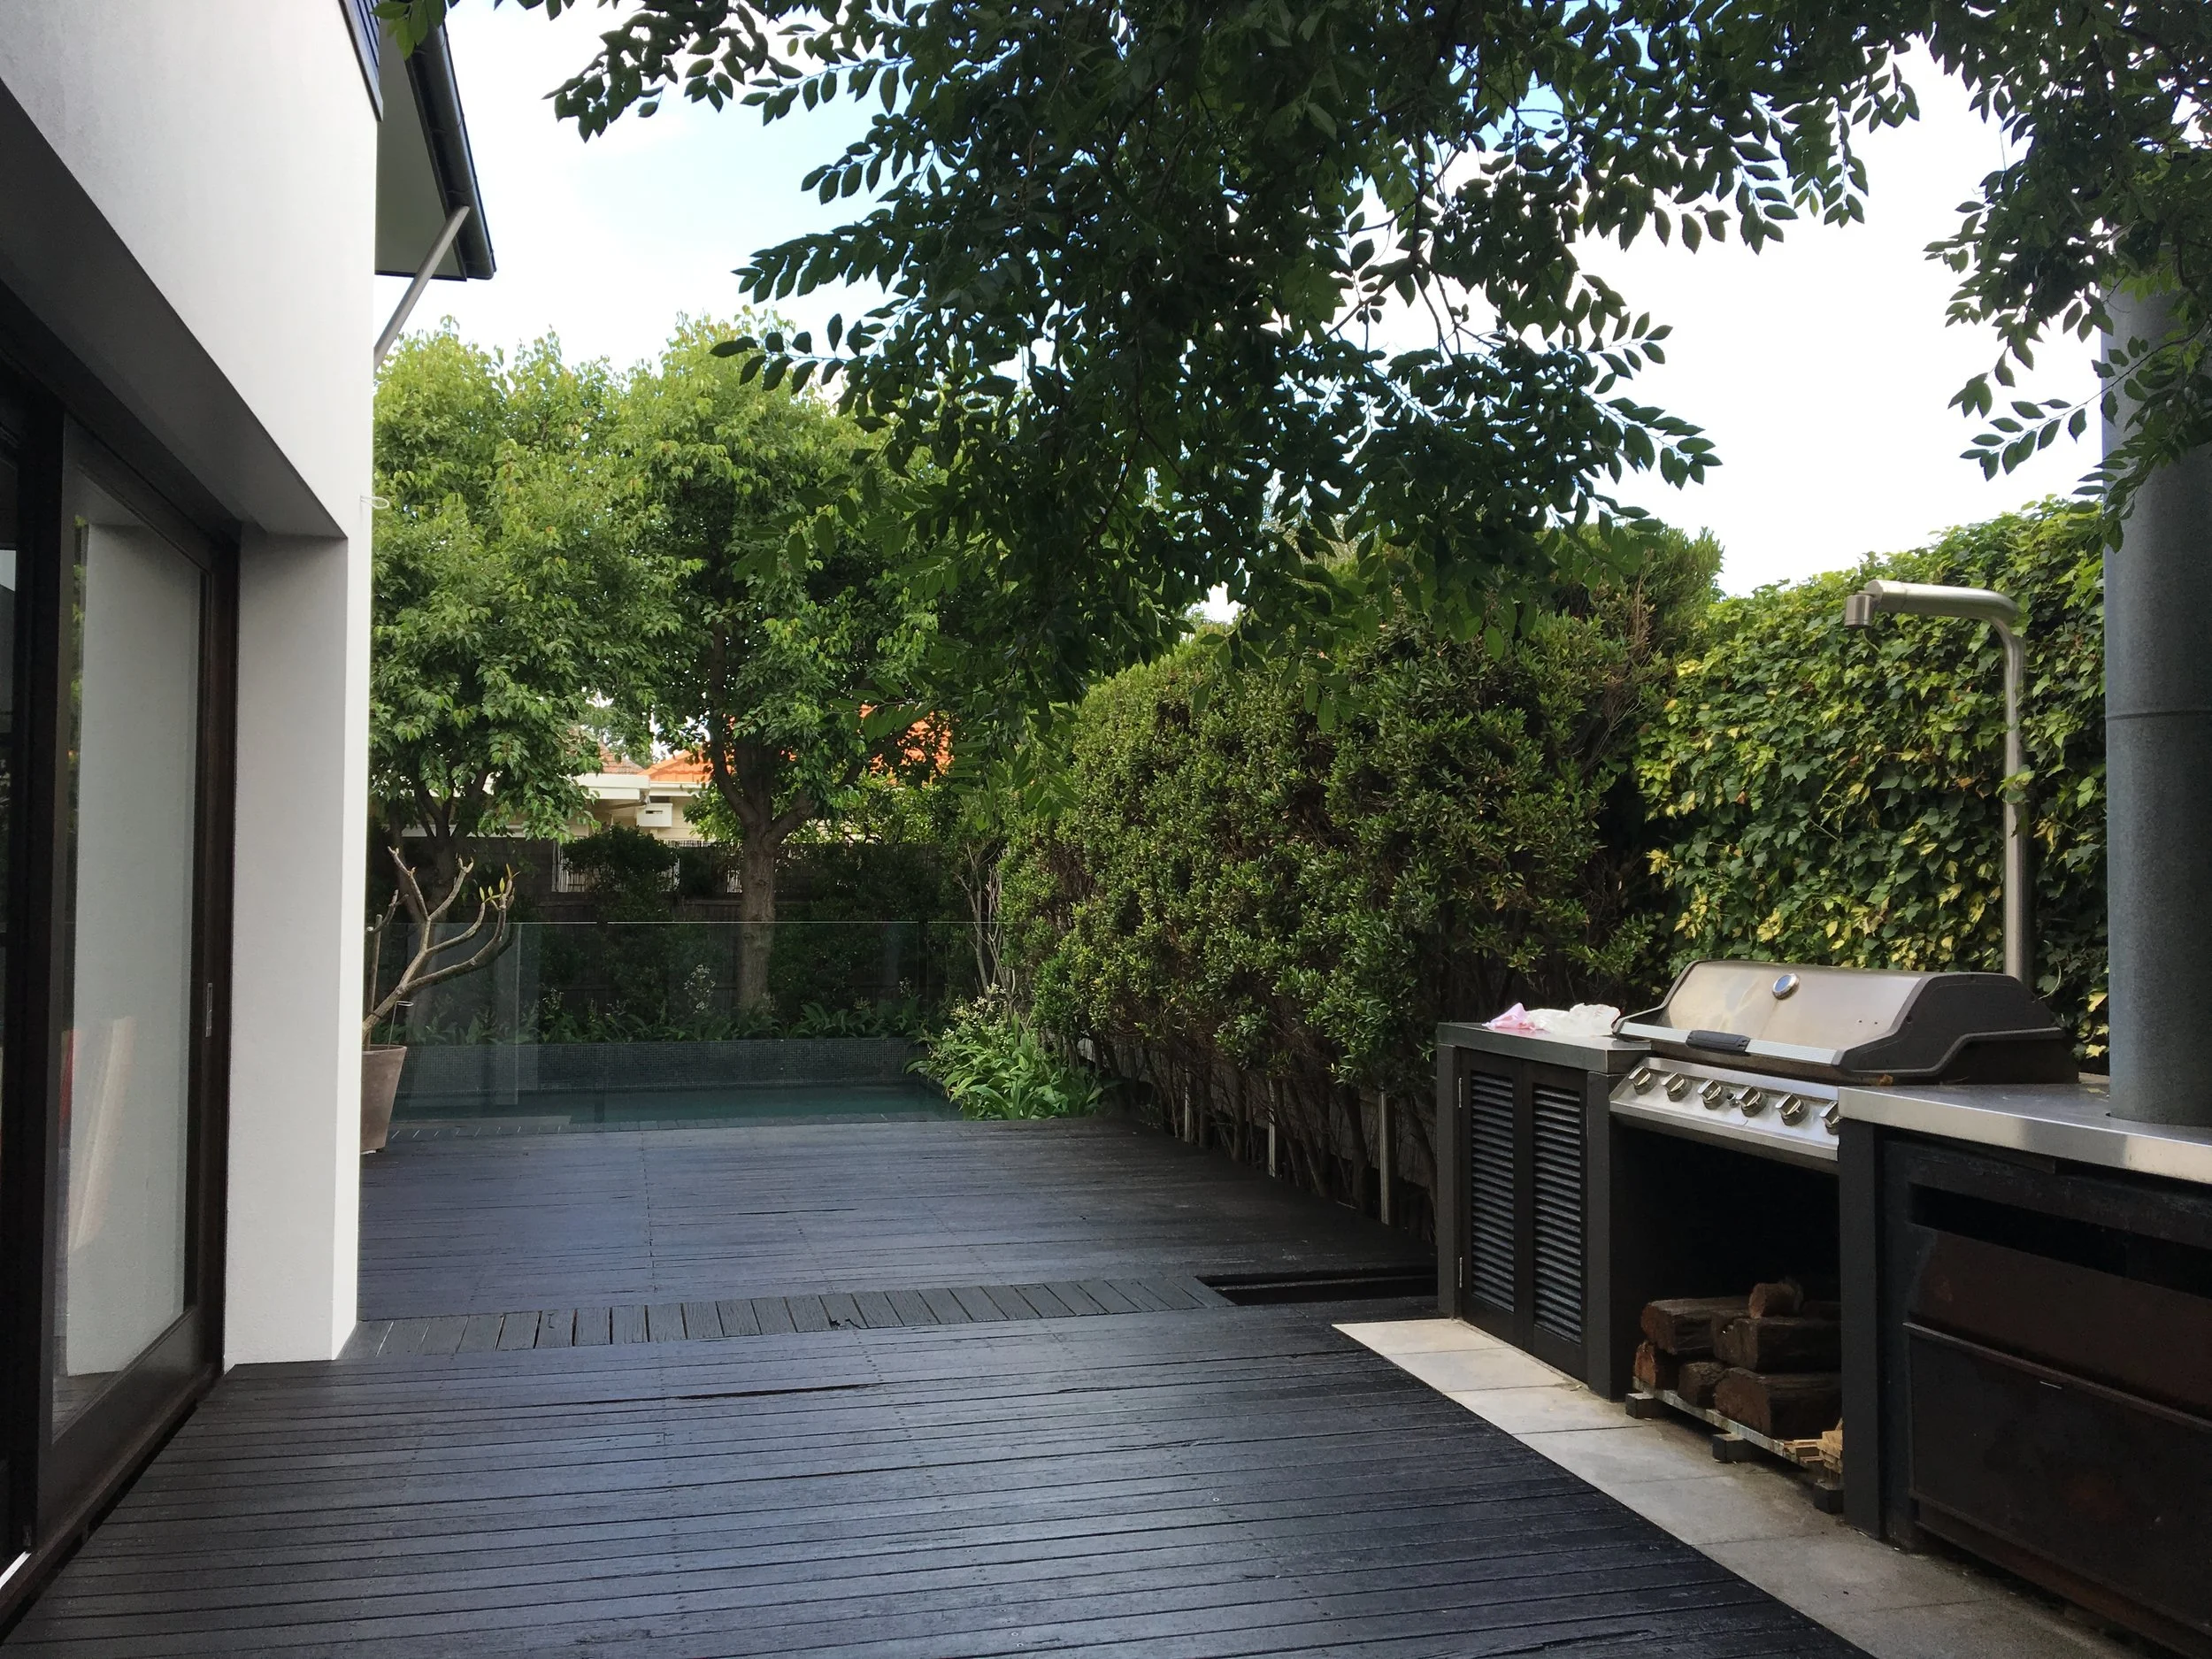
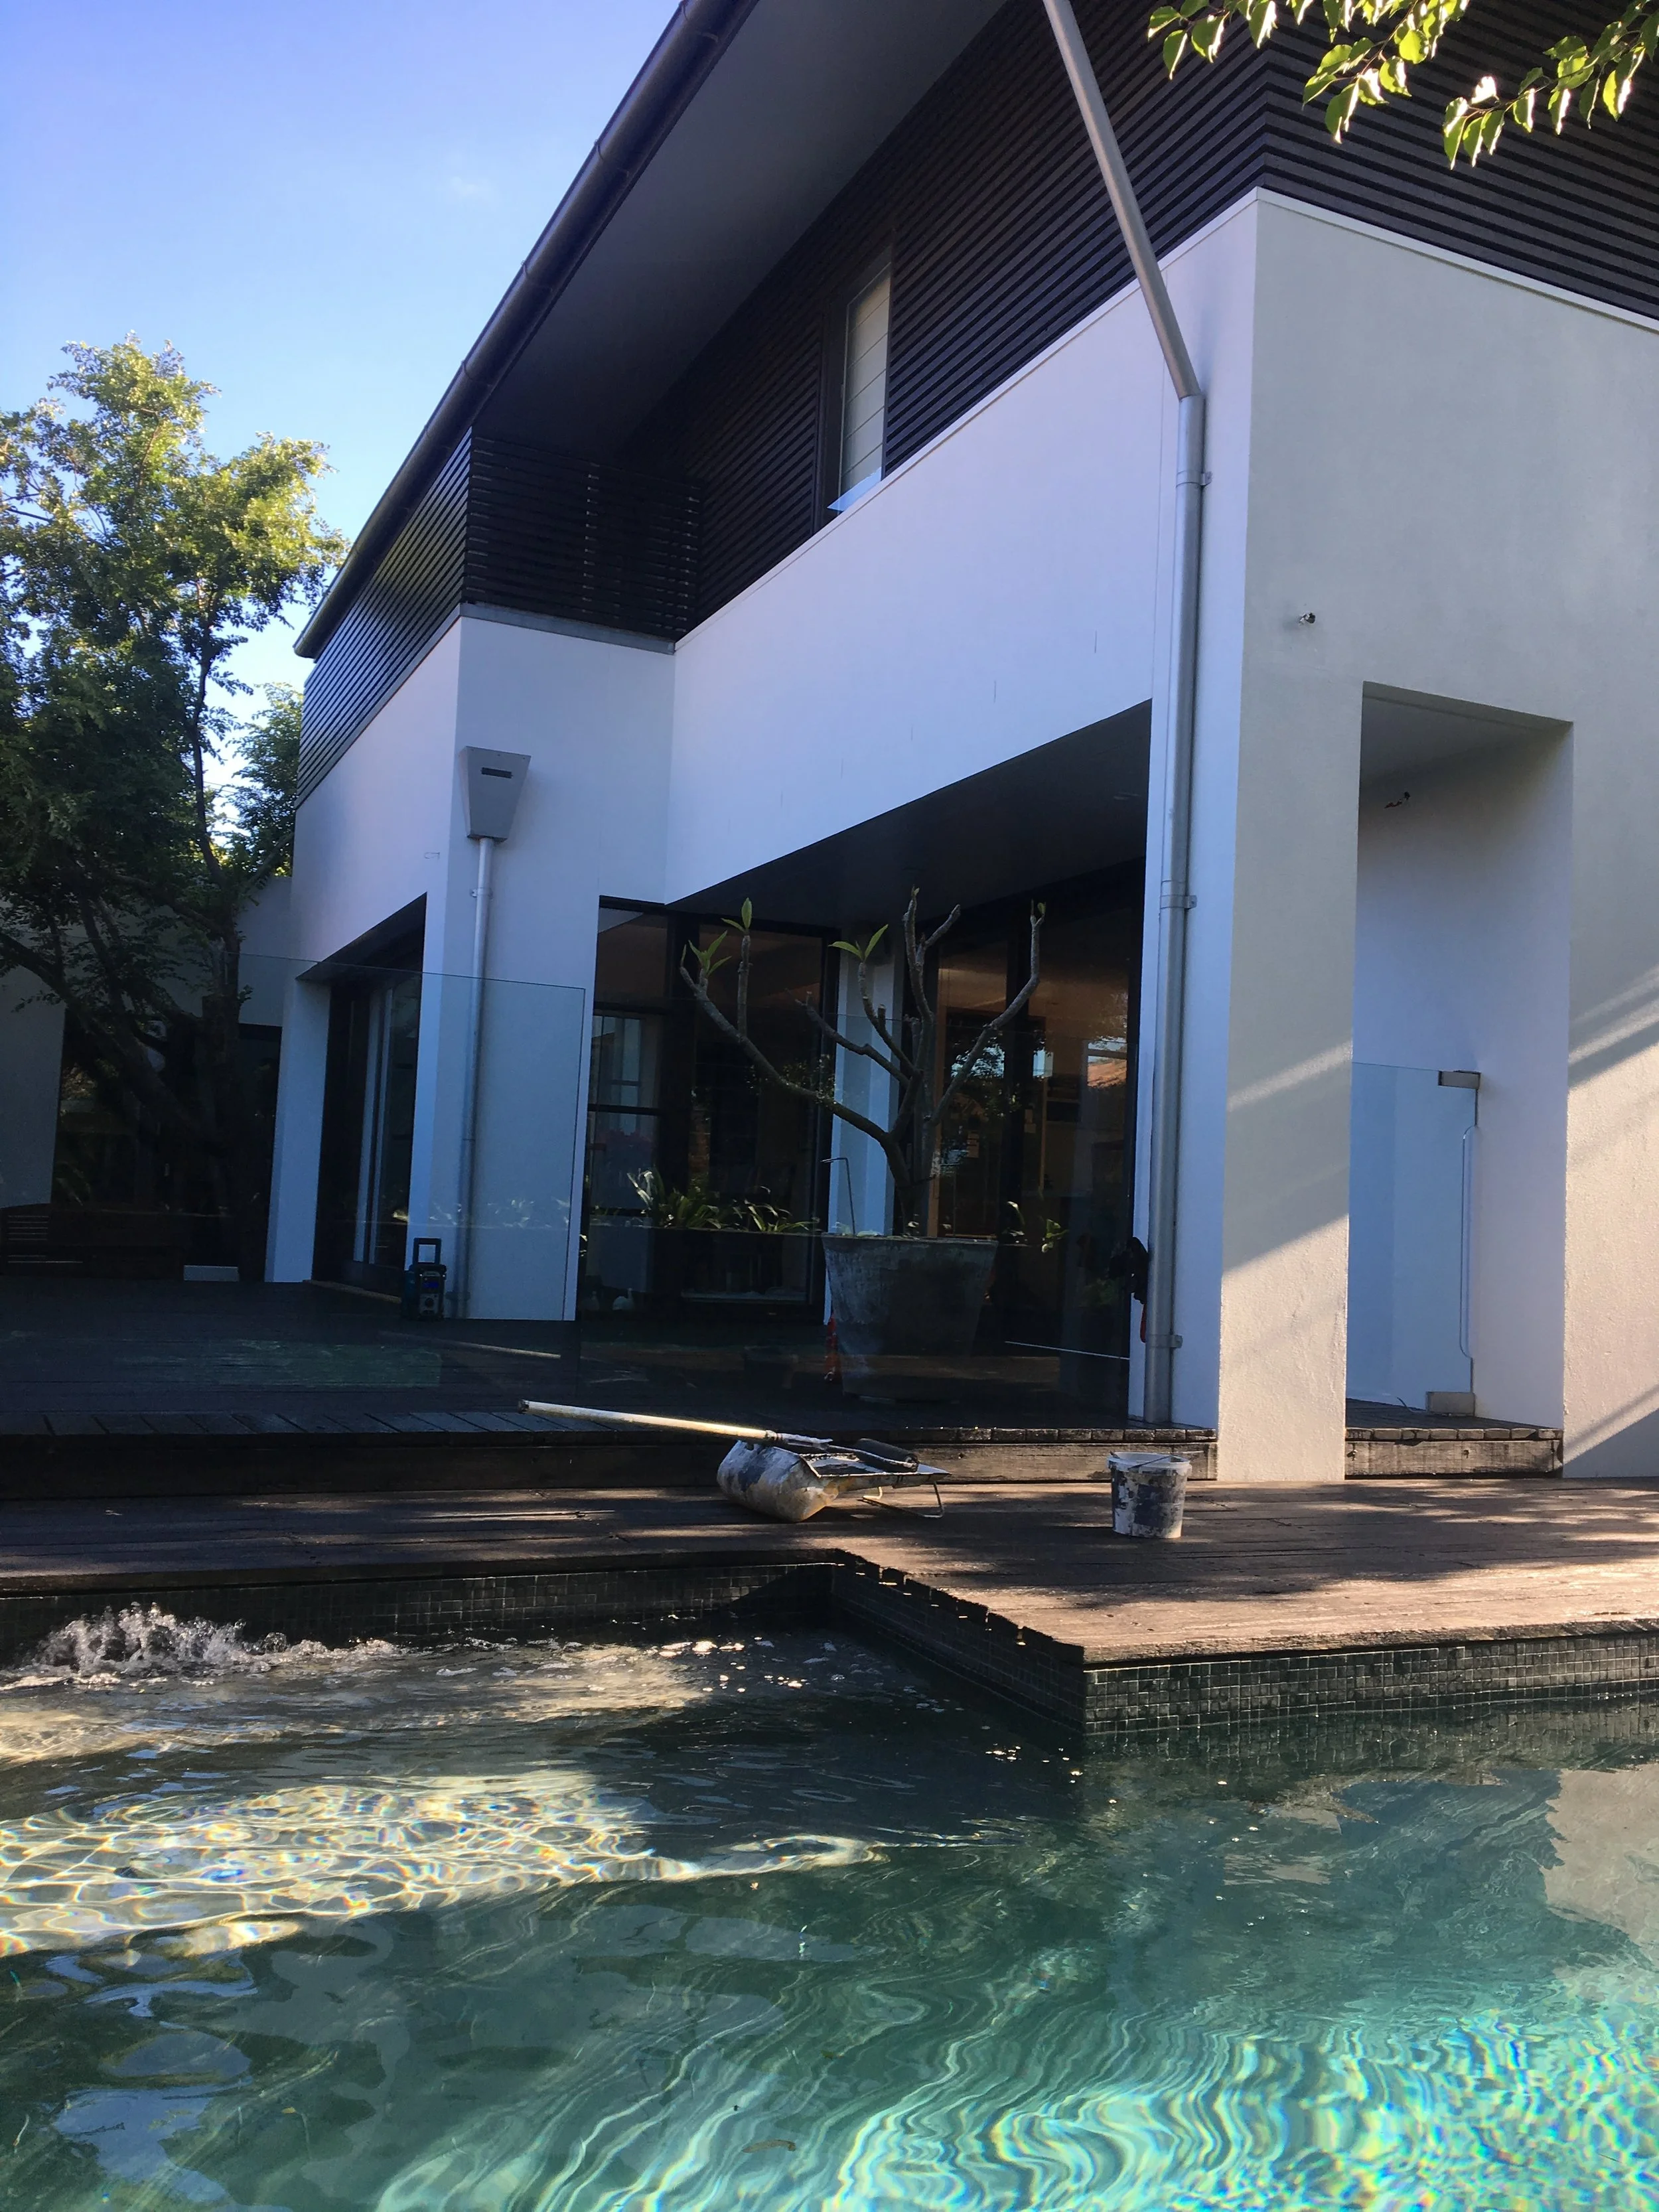
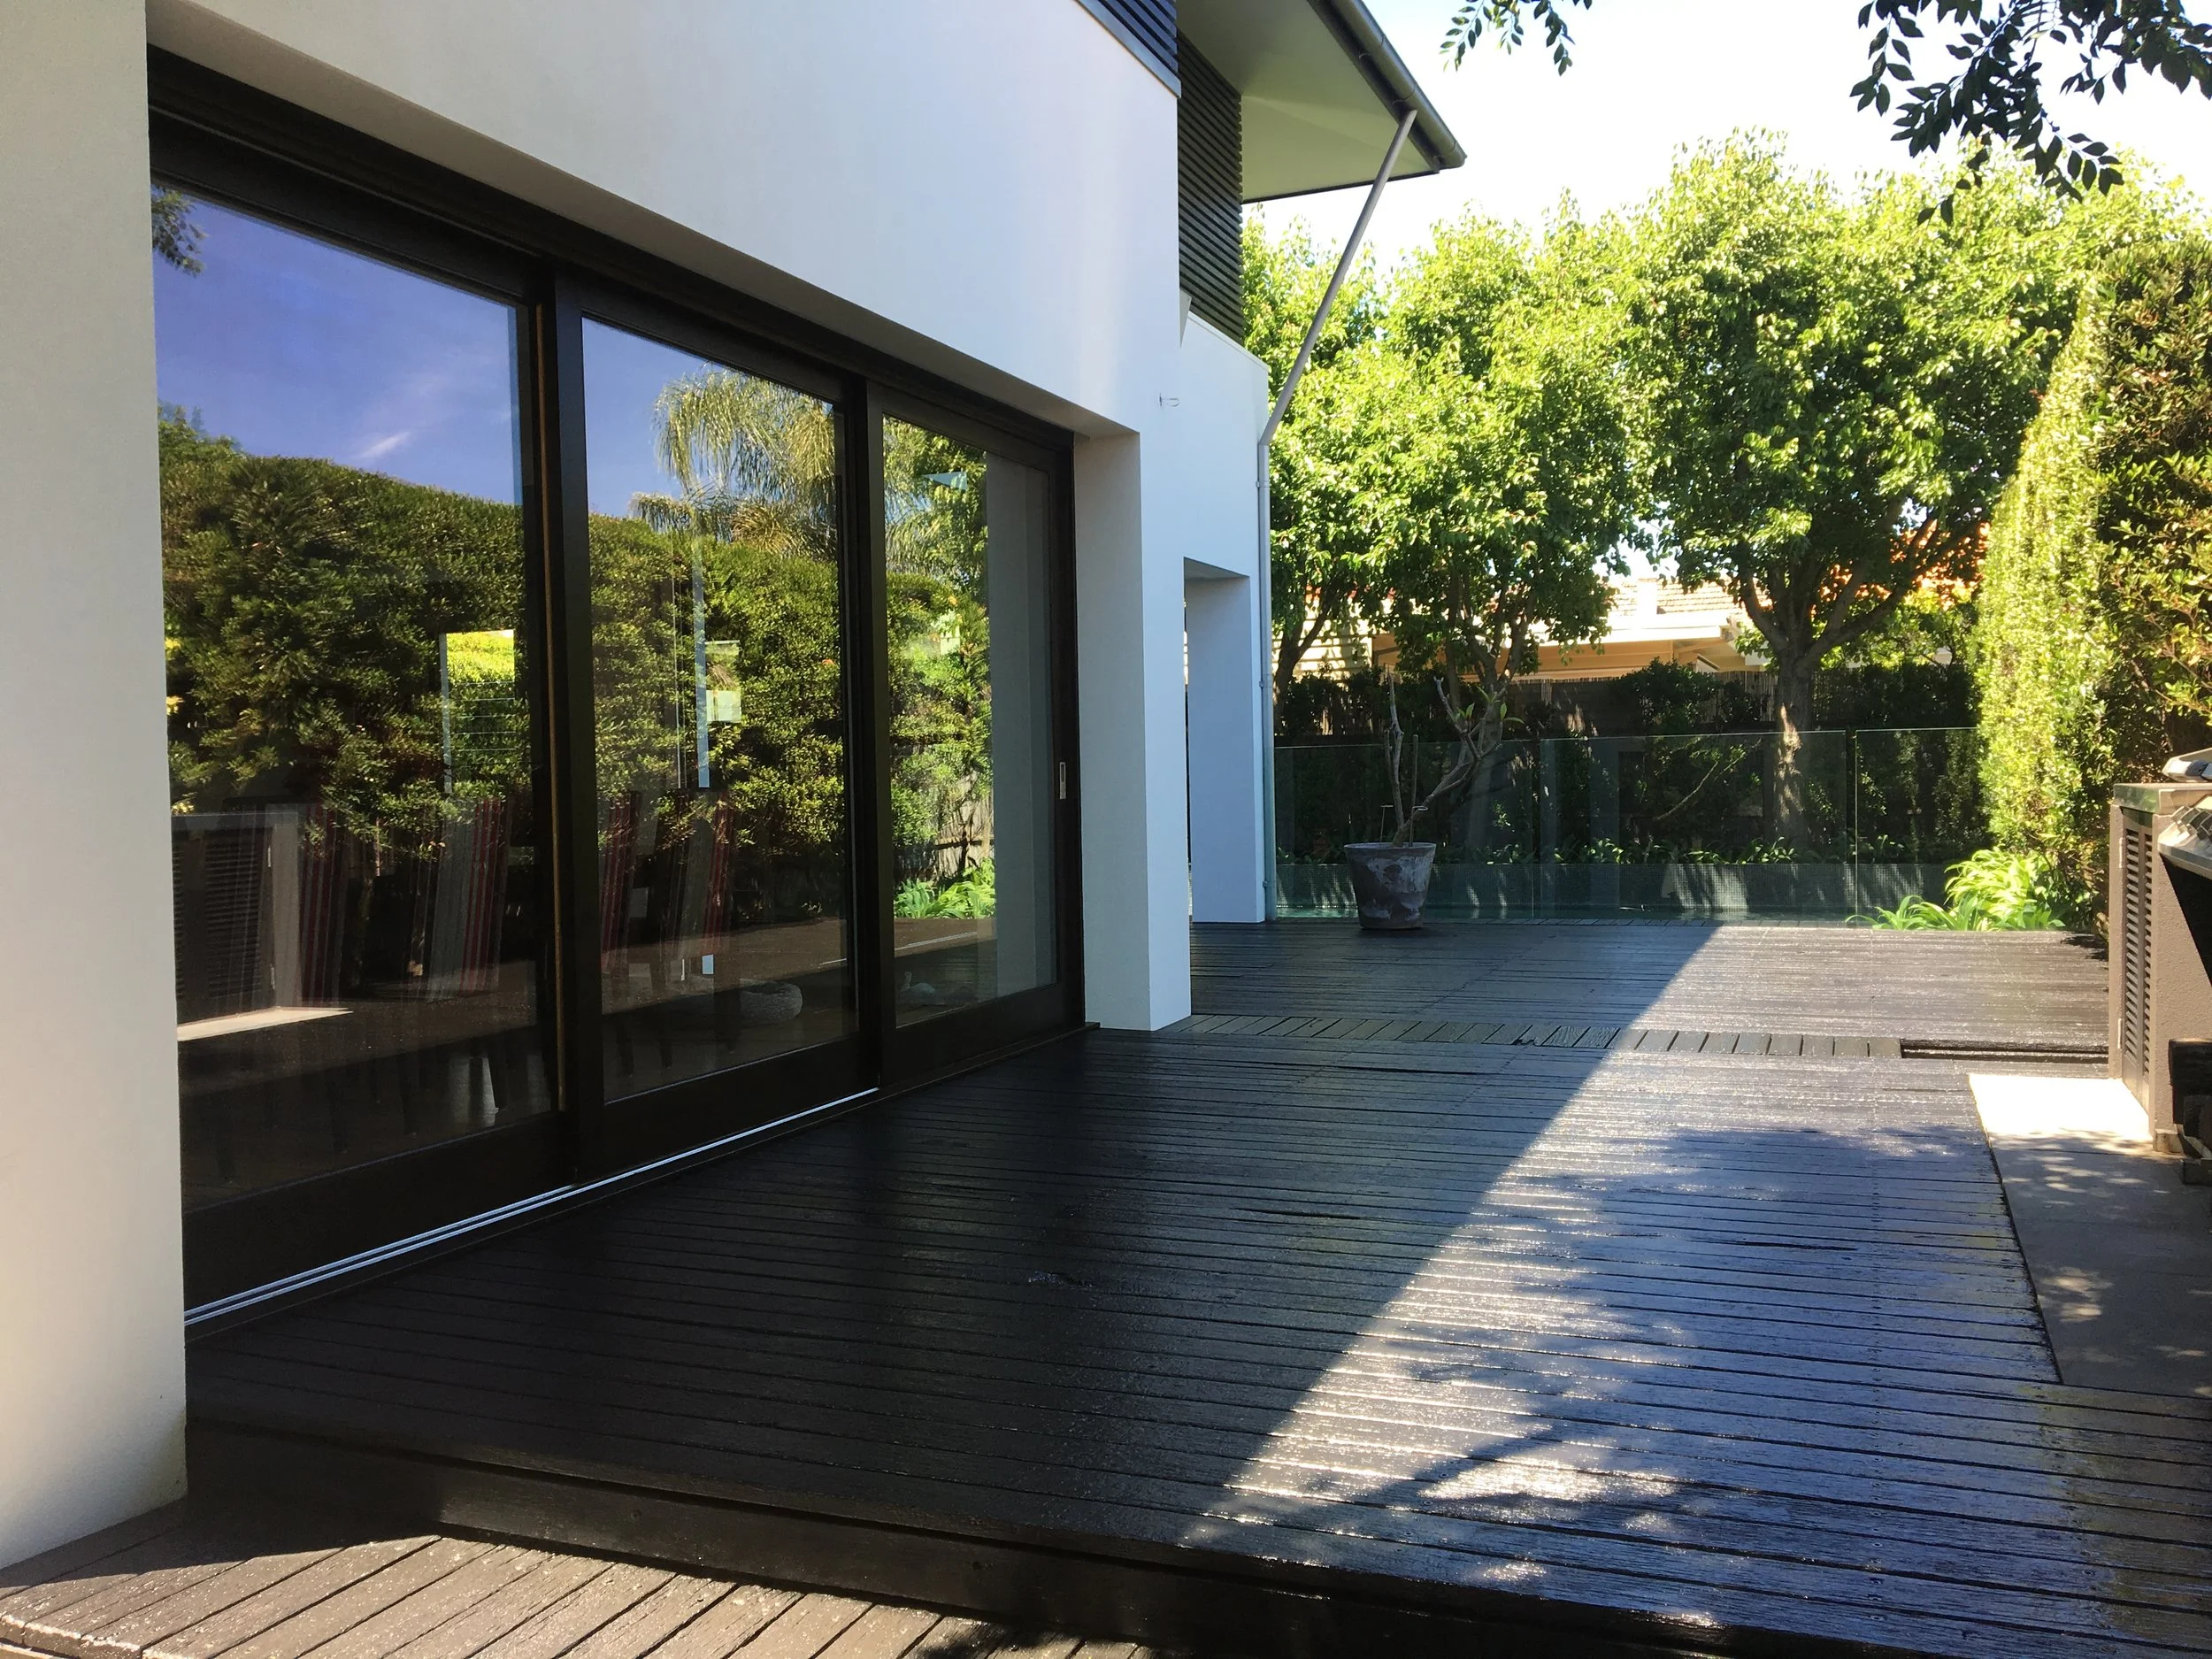
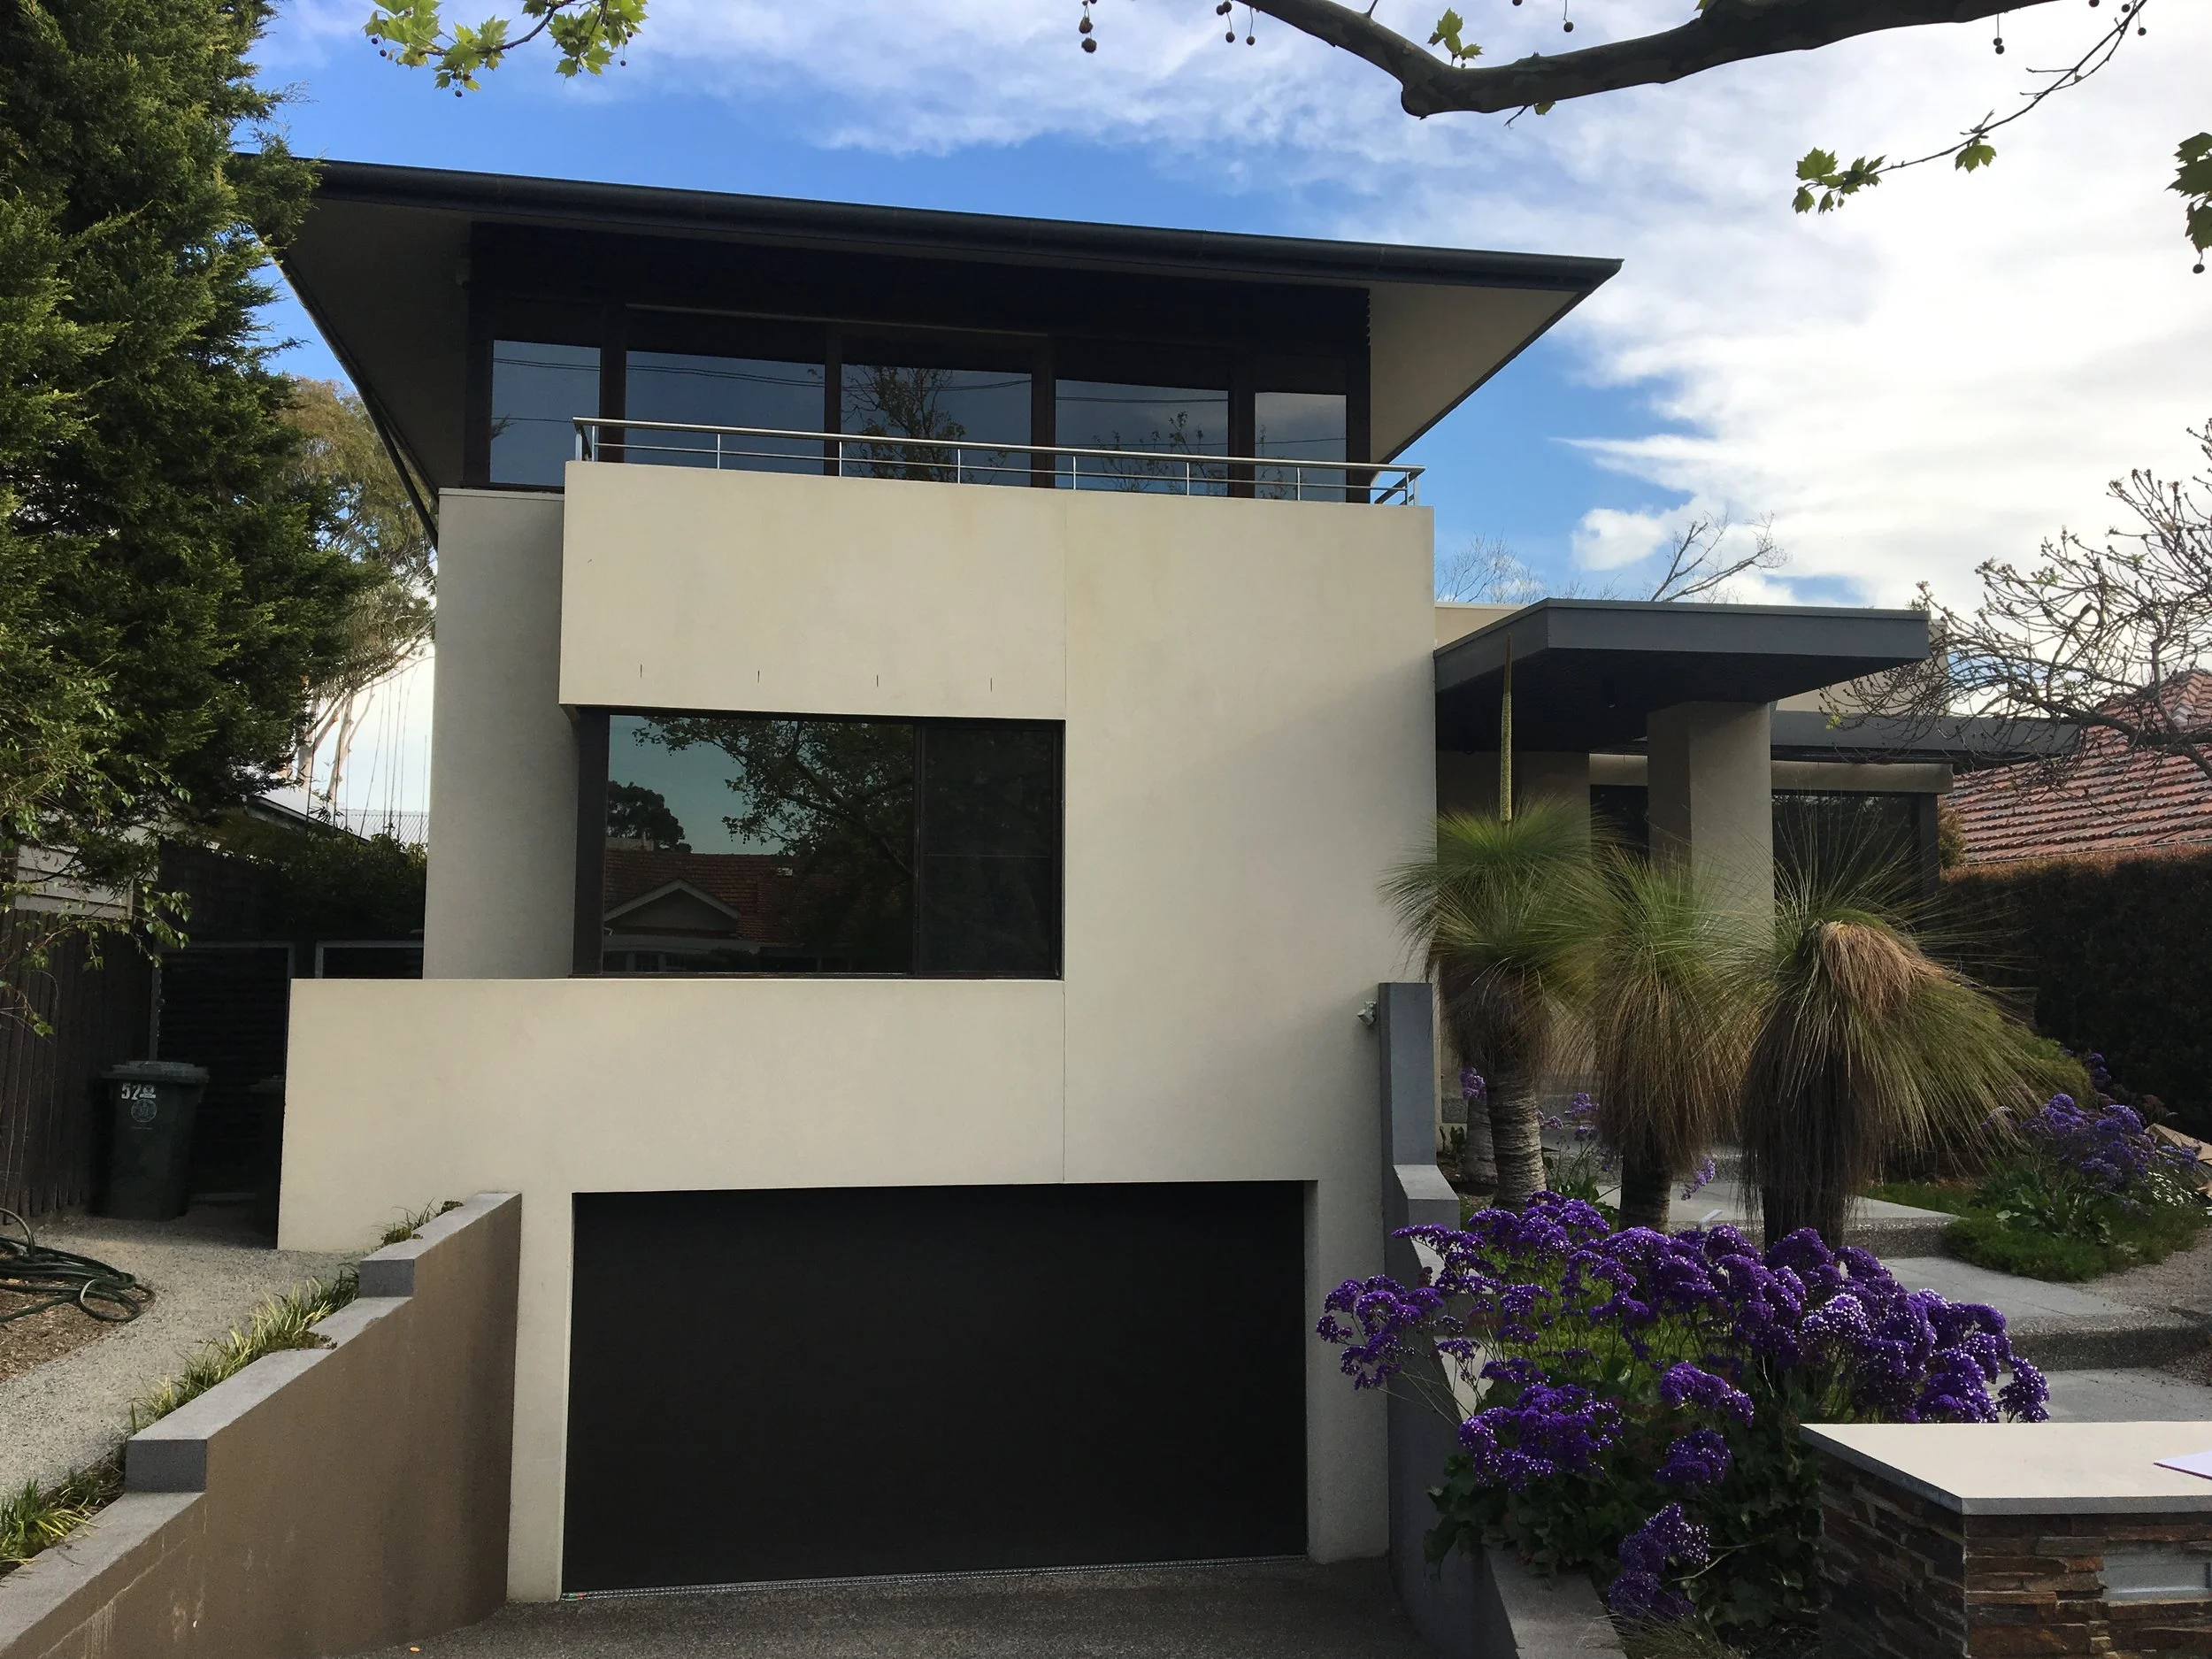
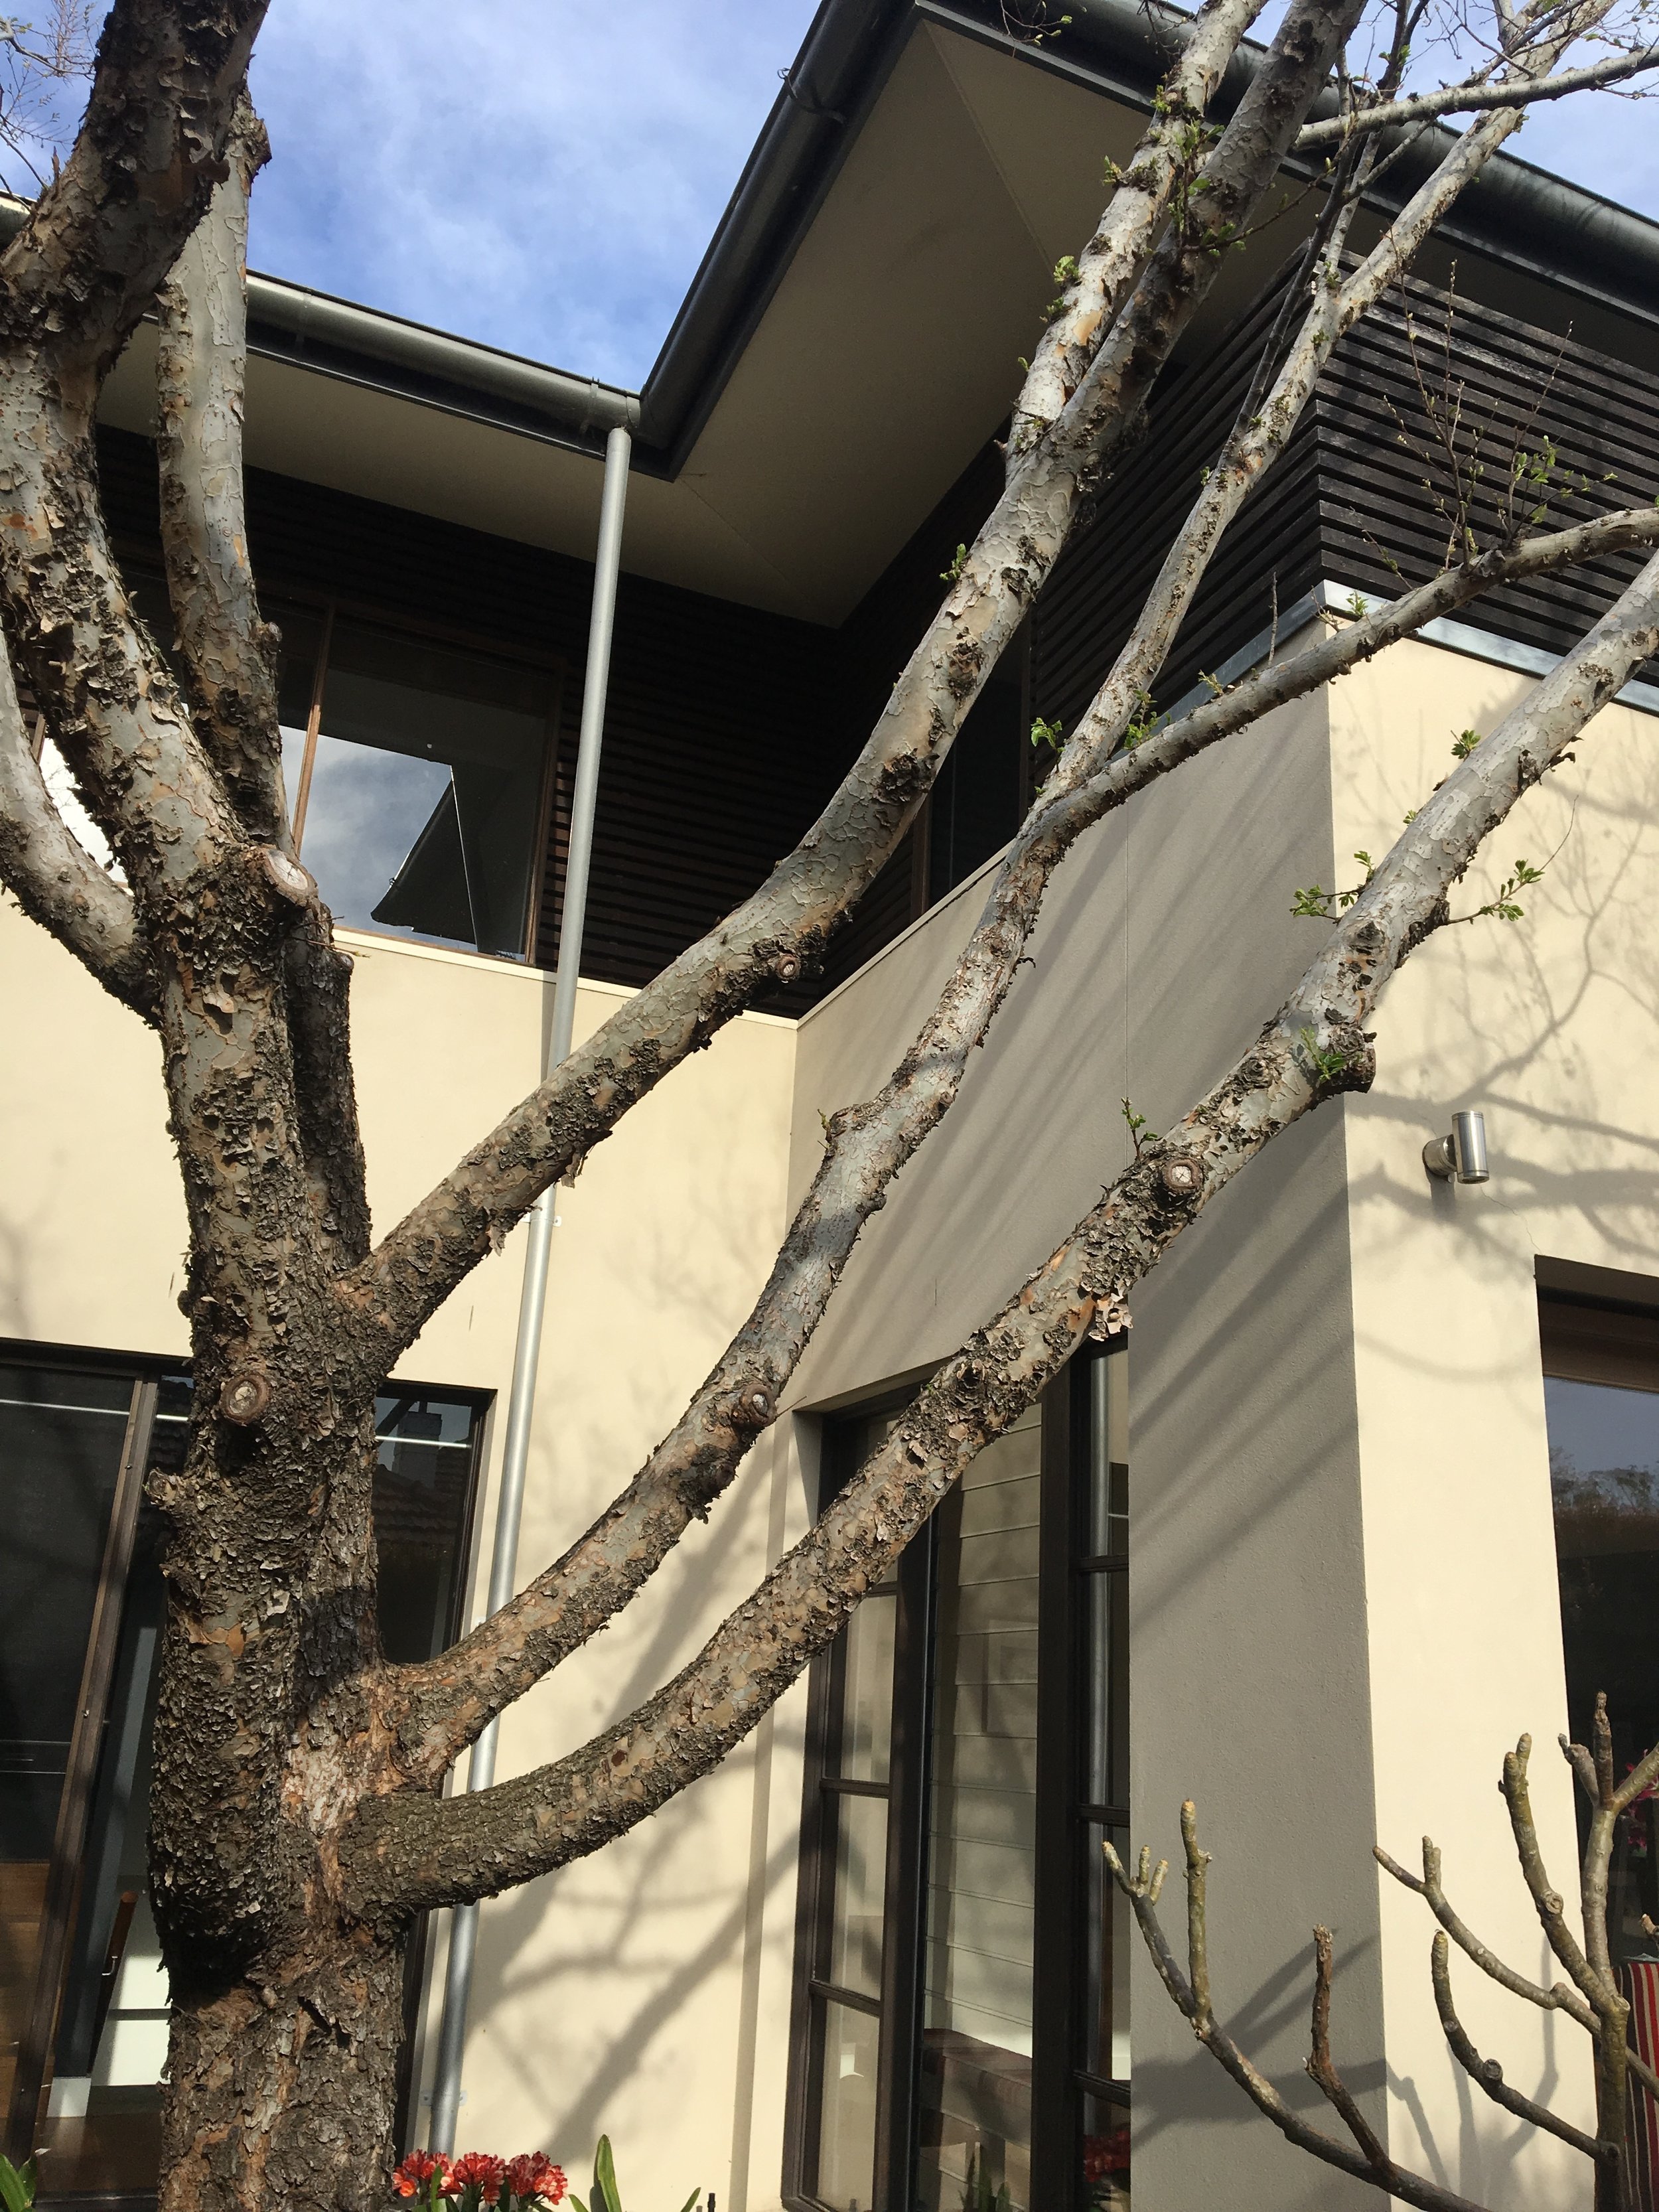
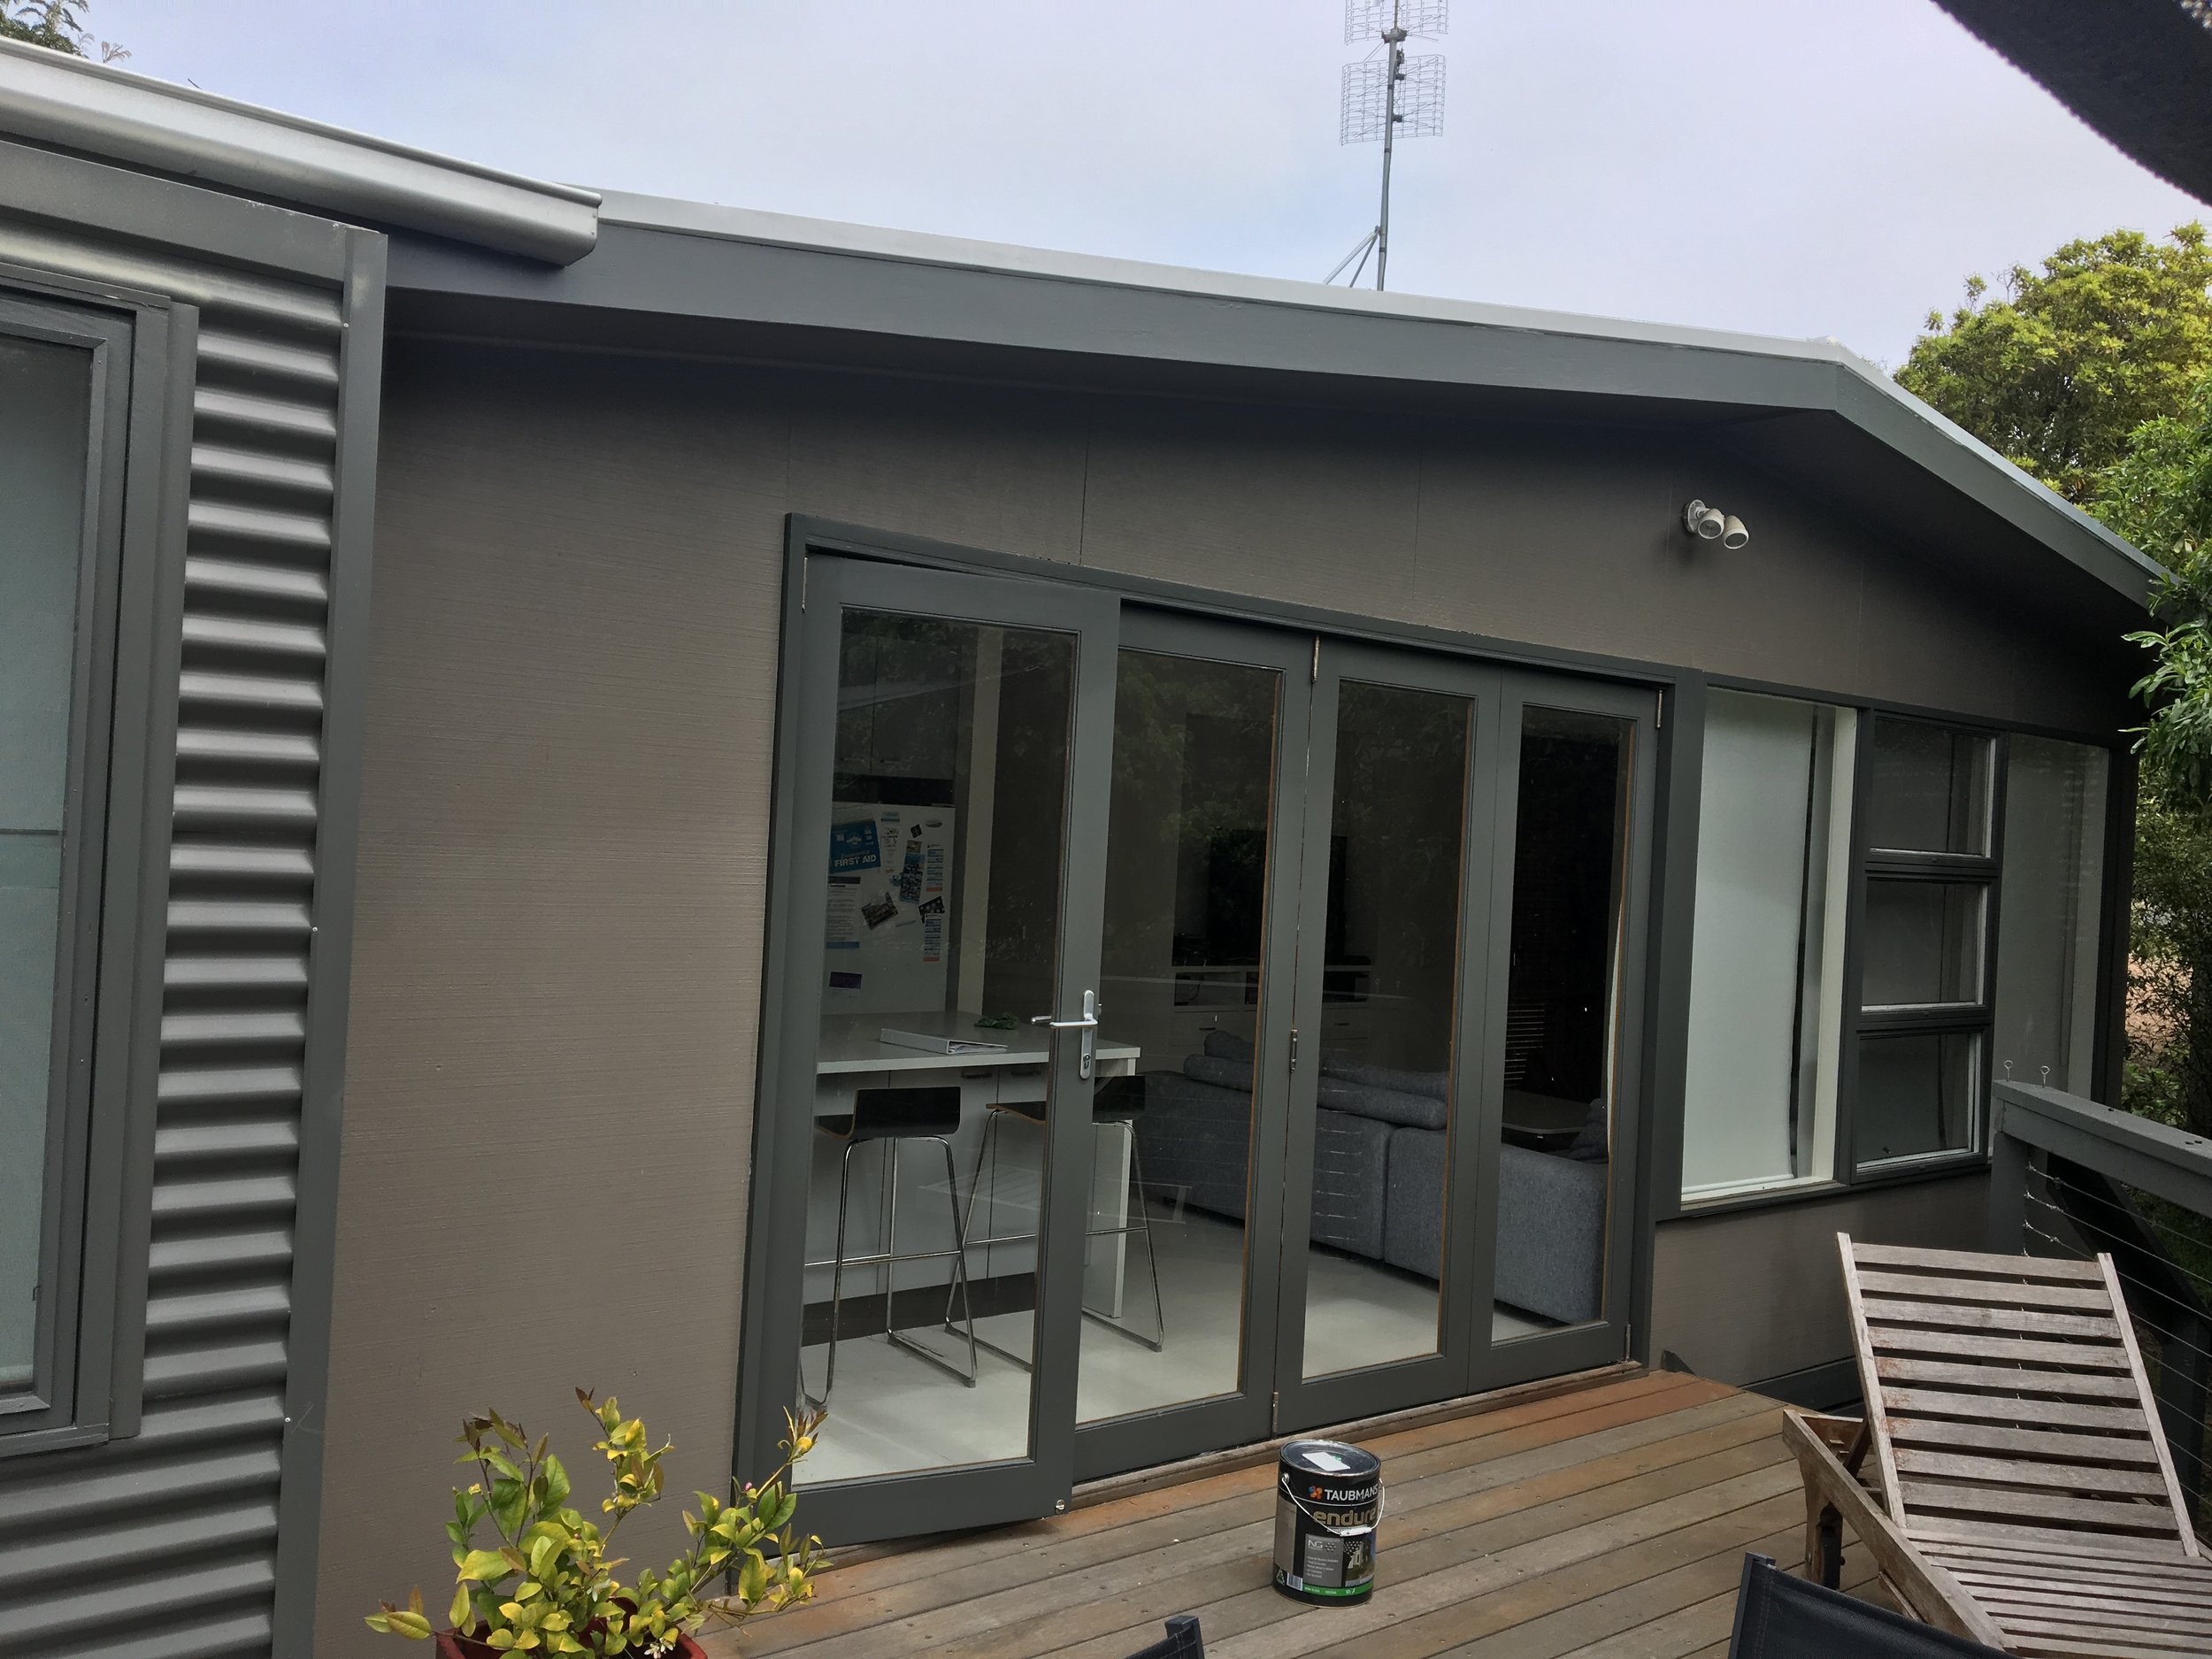
Looking after your Exterior in 4 easy steps

Care and maintenance instructions

Extending the Life of Your Paintwork


Most people think it's the weather that breaks down exterior paint. It's actually dirt and pollution that works its way into the surface of the paint, weakens it, and then the sun, wind and rain finish it off.


Looking after your exterior in 4 Easy Steps

Whether your home is timber, cement render, brick, masonry or some form of building panel, all exterior painted surfaces will benefit from being cleaned down once in a while. At least twice a year to get the maximum life out of your paint job.

For the small time it takes, it can extended the life to the exterior considerably

  1. Prepare a bucket of warm water mixed with a very small amount of household washing up detergent. DO NOT USE Caustic-based or any other house hold cleaning products as they will often remove not only the grime but a good part of your paint covering as well.
  2. Hose down area to be cleaned, once moist use a soft broom, clean cloth or soft brush and apply warm water from bucket until surface is clean.
  3. Before the wall or other painted surface has the opportunity to dry, you should hose it down thoroughly with clean water. DO NOT USE a water pressure blaster on the building this will not be necessary
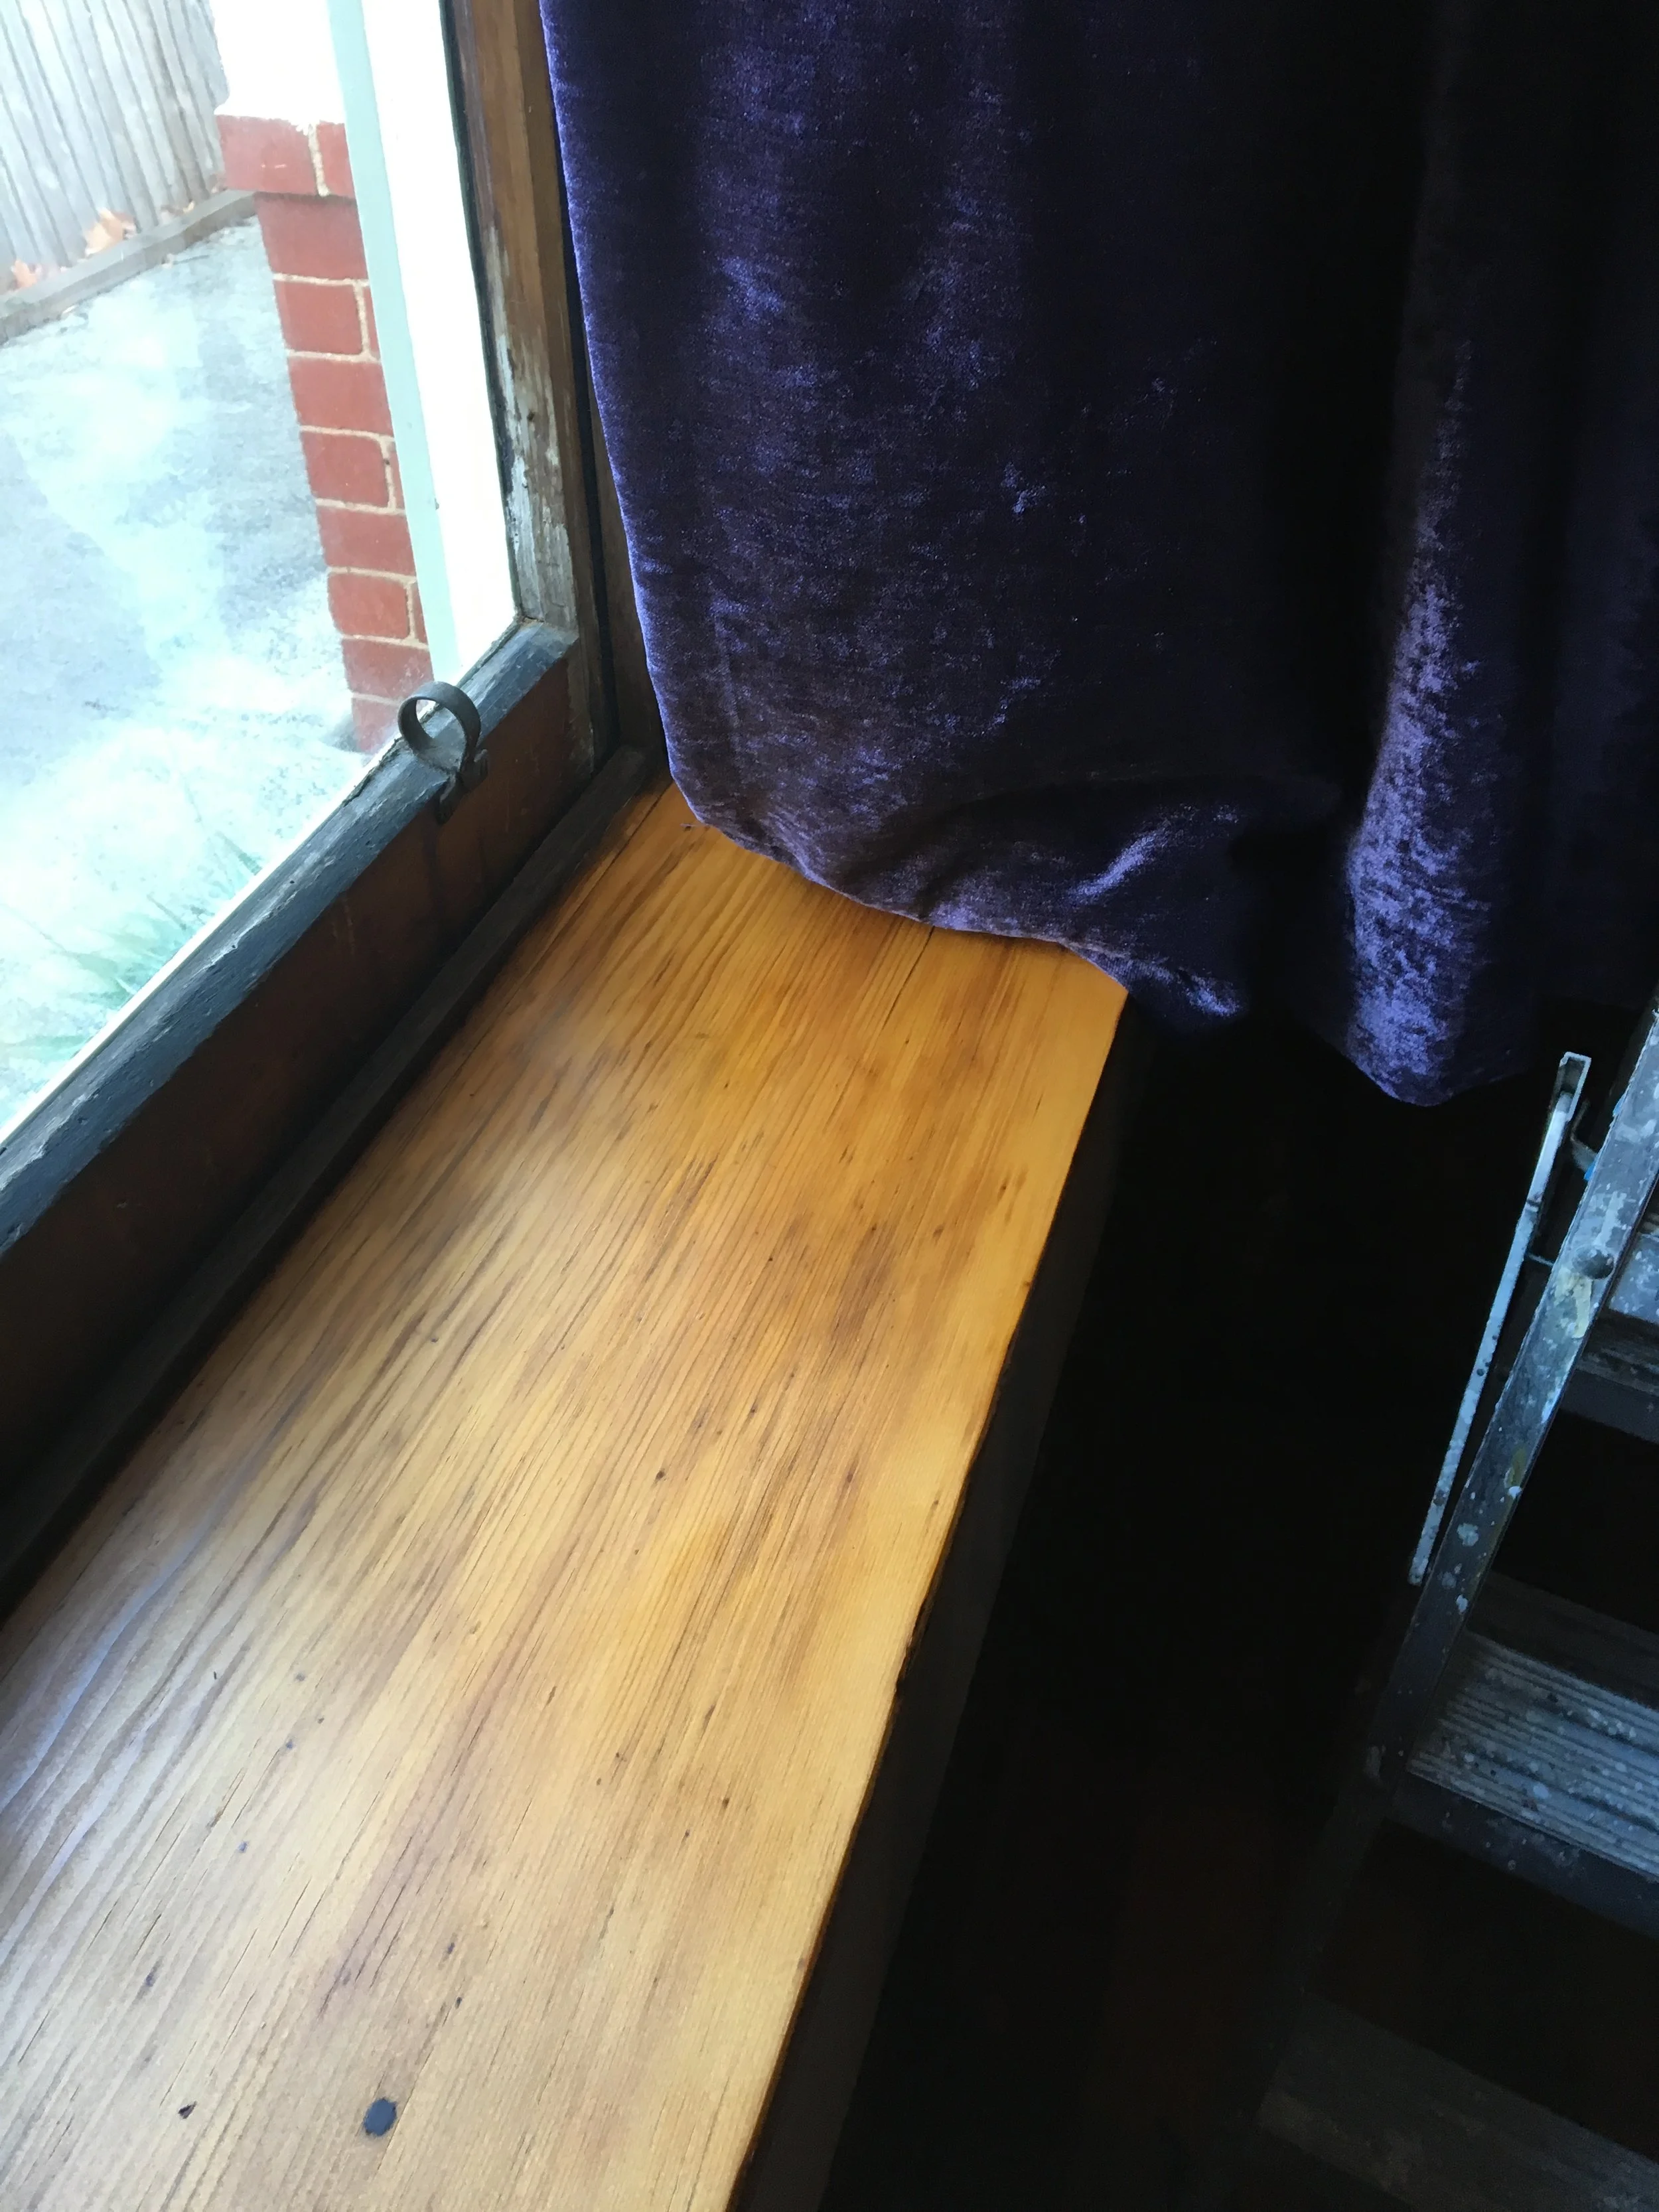
  4. Wipe away any dirt or mould on your window sills, these are the spots where the dirt is going to accumulate the most and attack the paint and break it down quickly 

A good job will keep your home looking clean, extend the life of your paintwork and add to its value.

Its a few hours work that will keep your new or existing paint job looking super for years to come and save you money

If you dont have the time or would like us to come and sort it out for you, just give us a bell and we can pop around and give you a price to make home look sparkling new...

Phone 040 777 5033

Thanks for using Mat White Painting

IMG_2425.JPG

These windows got a shellacking

A lot of hard labour went into restoring these windows in this beautiful old home in Ripponlea 

They came up amazing thanks for a great job Aaron, Marlowe and G 

These windows had not been touched in years and needed a little love. 

IMG_3392.JPG

Taping up all the window and removing all the hardware before the preparation begins.

IMG_3423.JPG

Sanding them all the way back to timber with Festool sanders hooked up to vacuum system so not much dust 

IMG_3421.JPG

Three seperate windows.. 

Shellac flakes mixed with metho to make a very thin brew of varnish. Then applied with brushes. The finish is amazing a true original eco varnish straight from the shellac beatle and the tree. Thanks to nature you get these amazing golden tones. 

IMG_3425.JPG

#matwhitepainting #shellac #restoration #frenchpolish

IMG_3394.JPG

Getting down with a bit of shellac

Doing a few tests on a window using shellac. This is a very old school method of varnishing timber surfaces. Most peeps will also know it as the process of French polishing. 


IMG_3325.JPG

ABOVE: This is what the old surfaces look like after many many years. Hey 

BELOW: 

This is what it looks like now just like magic ⚡️


IMG_3324.JPG

Shellac is produced by Beatles onto a tree where it is scrapped off in flakes. Once mentholated spirit is added the liquid is then applied in very this layers. The more layers the more colour, this seals the timber and keeps it weather proof. And can be sealed with a polish after for a higher gloss level.  

IMG_3314.JPG
IMG_3316.JPG

5 coats of a good shellacking  

IMG_3317.JPG

#shellac #matwhitepainting#greenpainters#restoration

Exterior timber windows

It seems it a flavour of the month

Re vamping timber windows is a very labour intensive job to remove all the original varnish to bring them back to life, but well worth it.  

IMG_2997.JPG

These windows has coped a lot of weather over the years 

IMG_2999.JPG

Once we tape them all up the sanding starts, sanding them all back to bare timber again

IMG_3252.JPG
IMG_3253.JPG

Final results amazing new windows, with 2 coats of gloss marine varnish 

IMG_3263.JPG

New transparent finish for staircase

These clients had a finish on the staircase done a while back but the job wasn’t executed very well. Best call in the professionals. A total sand off back to timber and a slightly lighter mix has done the trick 

IMG_2861.JPG
IMG_2865.JPG

Out with the old, this Festool little ripper makes light work of these varnished stair treads. 

FullSizeRender.jpg
FullSizeRender.jpg

New paint finish using acrylic floor clear and paint mixed to have a coloured transparent finish so the grain of the timber can still be seen through the finish. 

Beautiful timber windows oiled in Livos

These beautiful Australian hardwood timber windows and doors have been oiled inside and out  in Two coats of Livos exterior decking oil. The best exterior oil I have used. This product will last agains the elements.

We have done a lot of exterior timber work in the past 6 months and the most common question my clients ask is how long is it going to last? 

IMG_3216.JPG

The Five main factors in this equation 1. Preparation 2.Application 3.Product 4. Weather / Environment 5. Cleaning 

IMG_3218.JPG

All can play a part in the longevity of the varnish / oil or any exterior paint work.

Keeping your exterior paint work clean and free of dirt and grime is a great way to prolong the life span of the finish. 

2-3 times a year wash your house down.

Looking after your largest and most expensive asset will save you money in the long run. 

IMG_3217.JPG

Oil will never last as long as an exterior painted surface 

Oils and varnishes just don’t have the protection against UV. If washed & maintained they can always look amazing and new. 

Always make sure that if they are looking a little dull then they need another coat. The longer you leave it past this point the more preparation, time and money you will have to spend. 

IMG_3173.JPG

#livos#matwhitepainting#exteioroil

Lots of love to bring this beauty back to life

People often ask how long does it take to paint a room

Around 180 hours was put in to prep and repaint this main bedroom, ensuite ceiling + window and a small walk through area with 6 doors, ceiling and skylight. 

IMG_2927.JPG

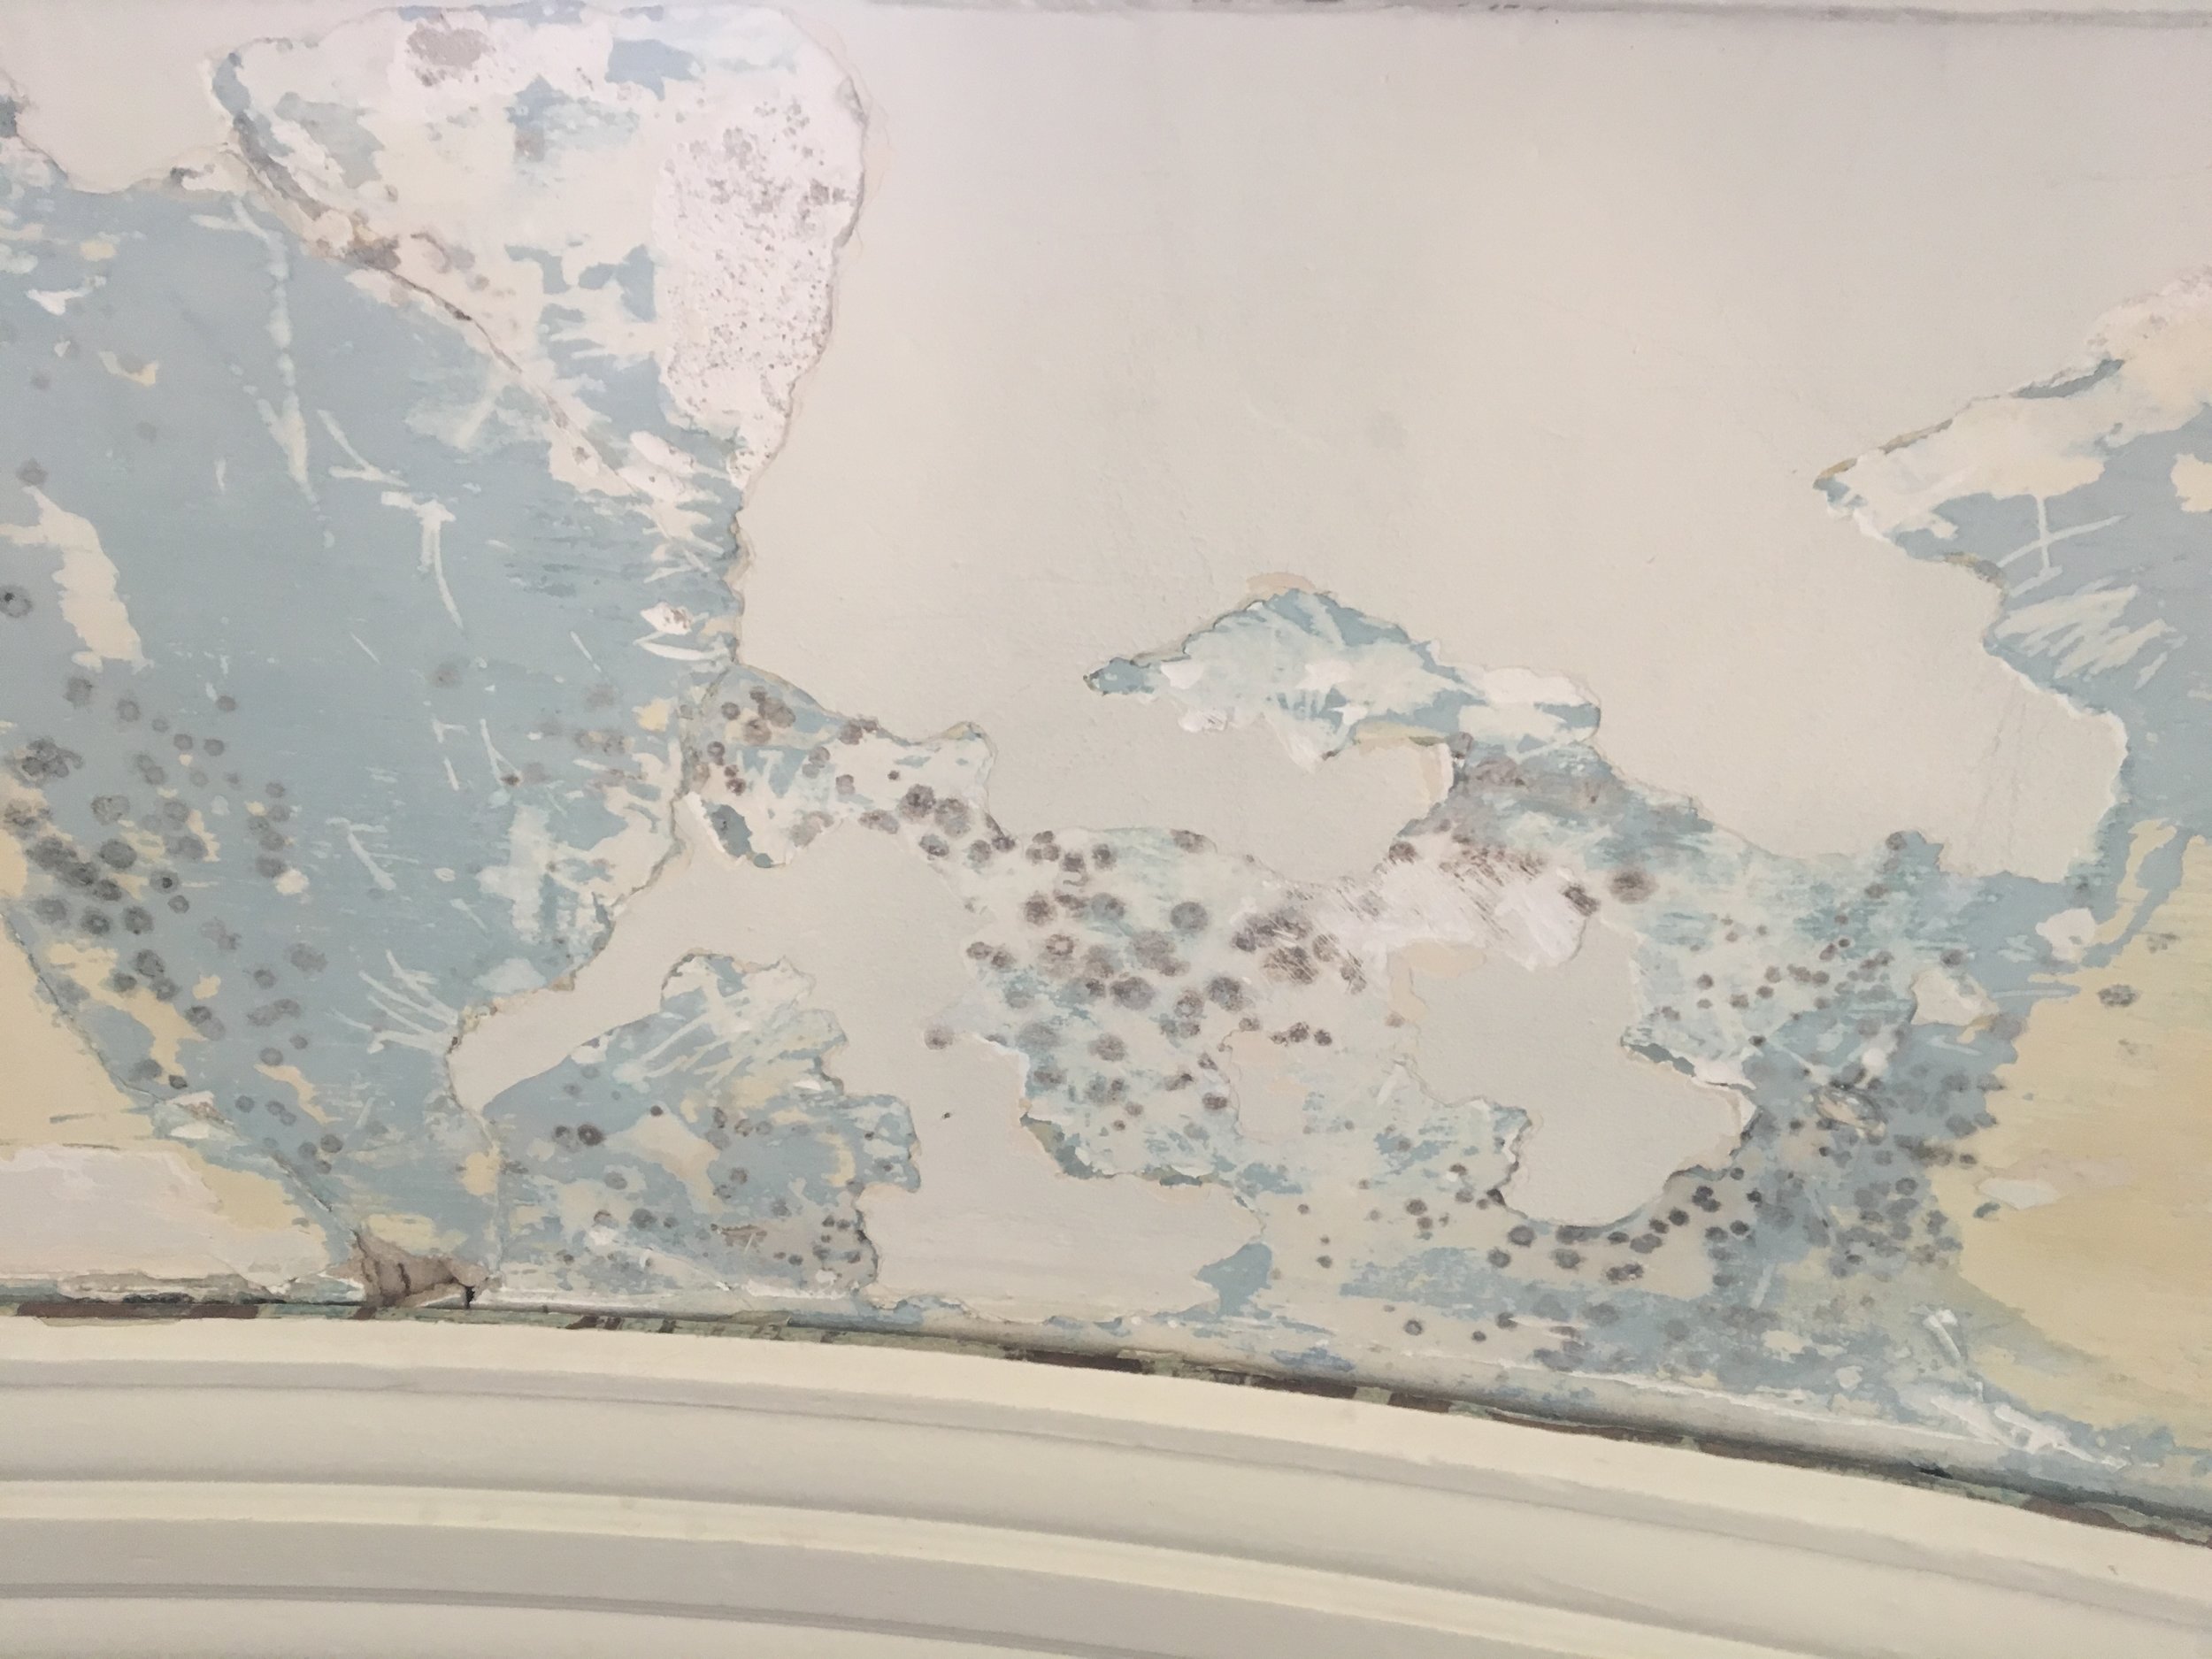
when we started peeling back paint this is what can happen. There has been issues with water and possible rising damp. Those dark coloured dots are black mould and that is very bad. Not great to be sleeping in an environment with this stuff....

IMG_2928.JPG

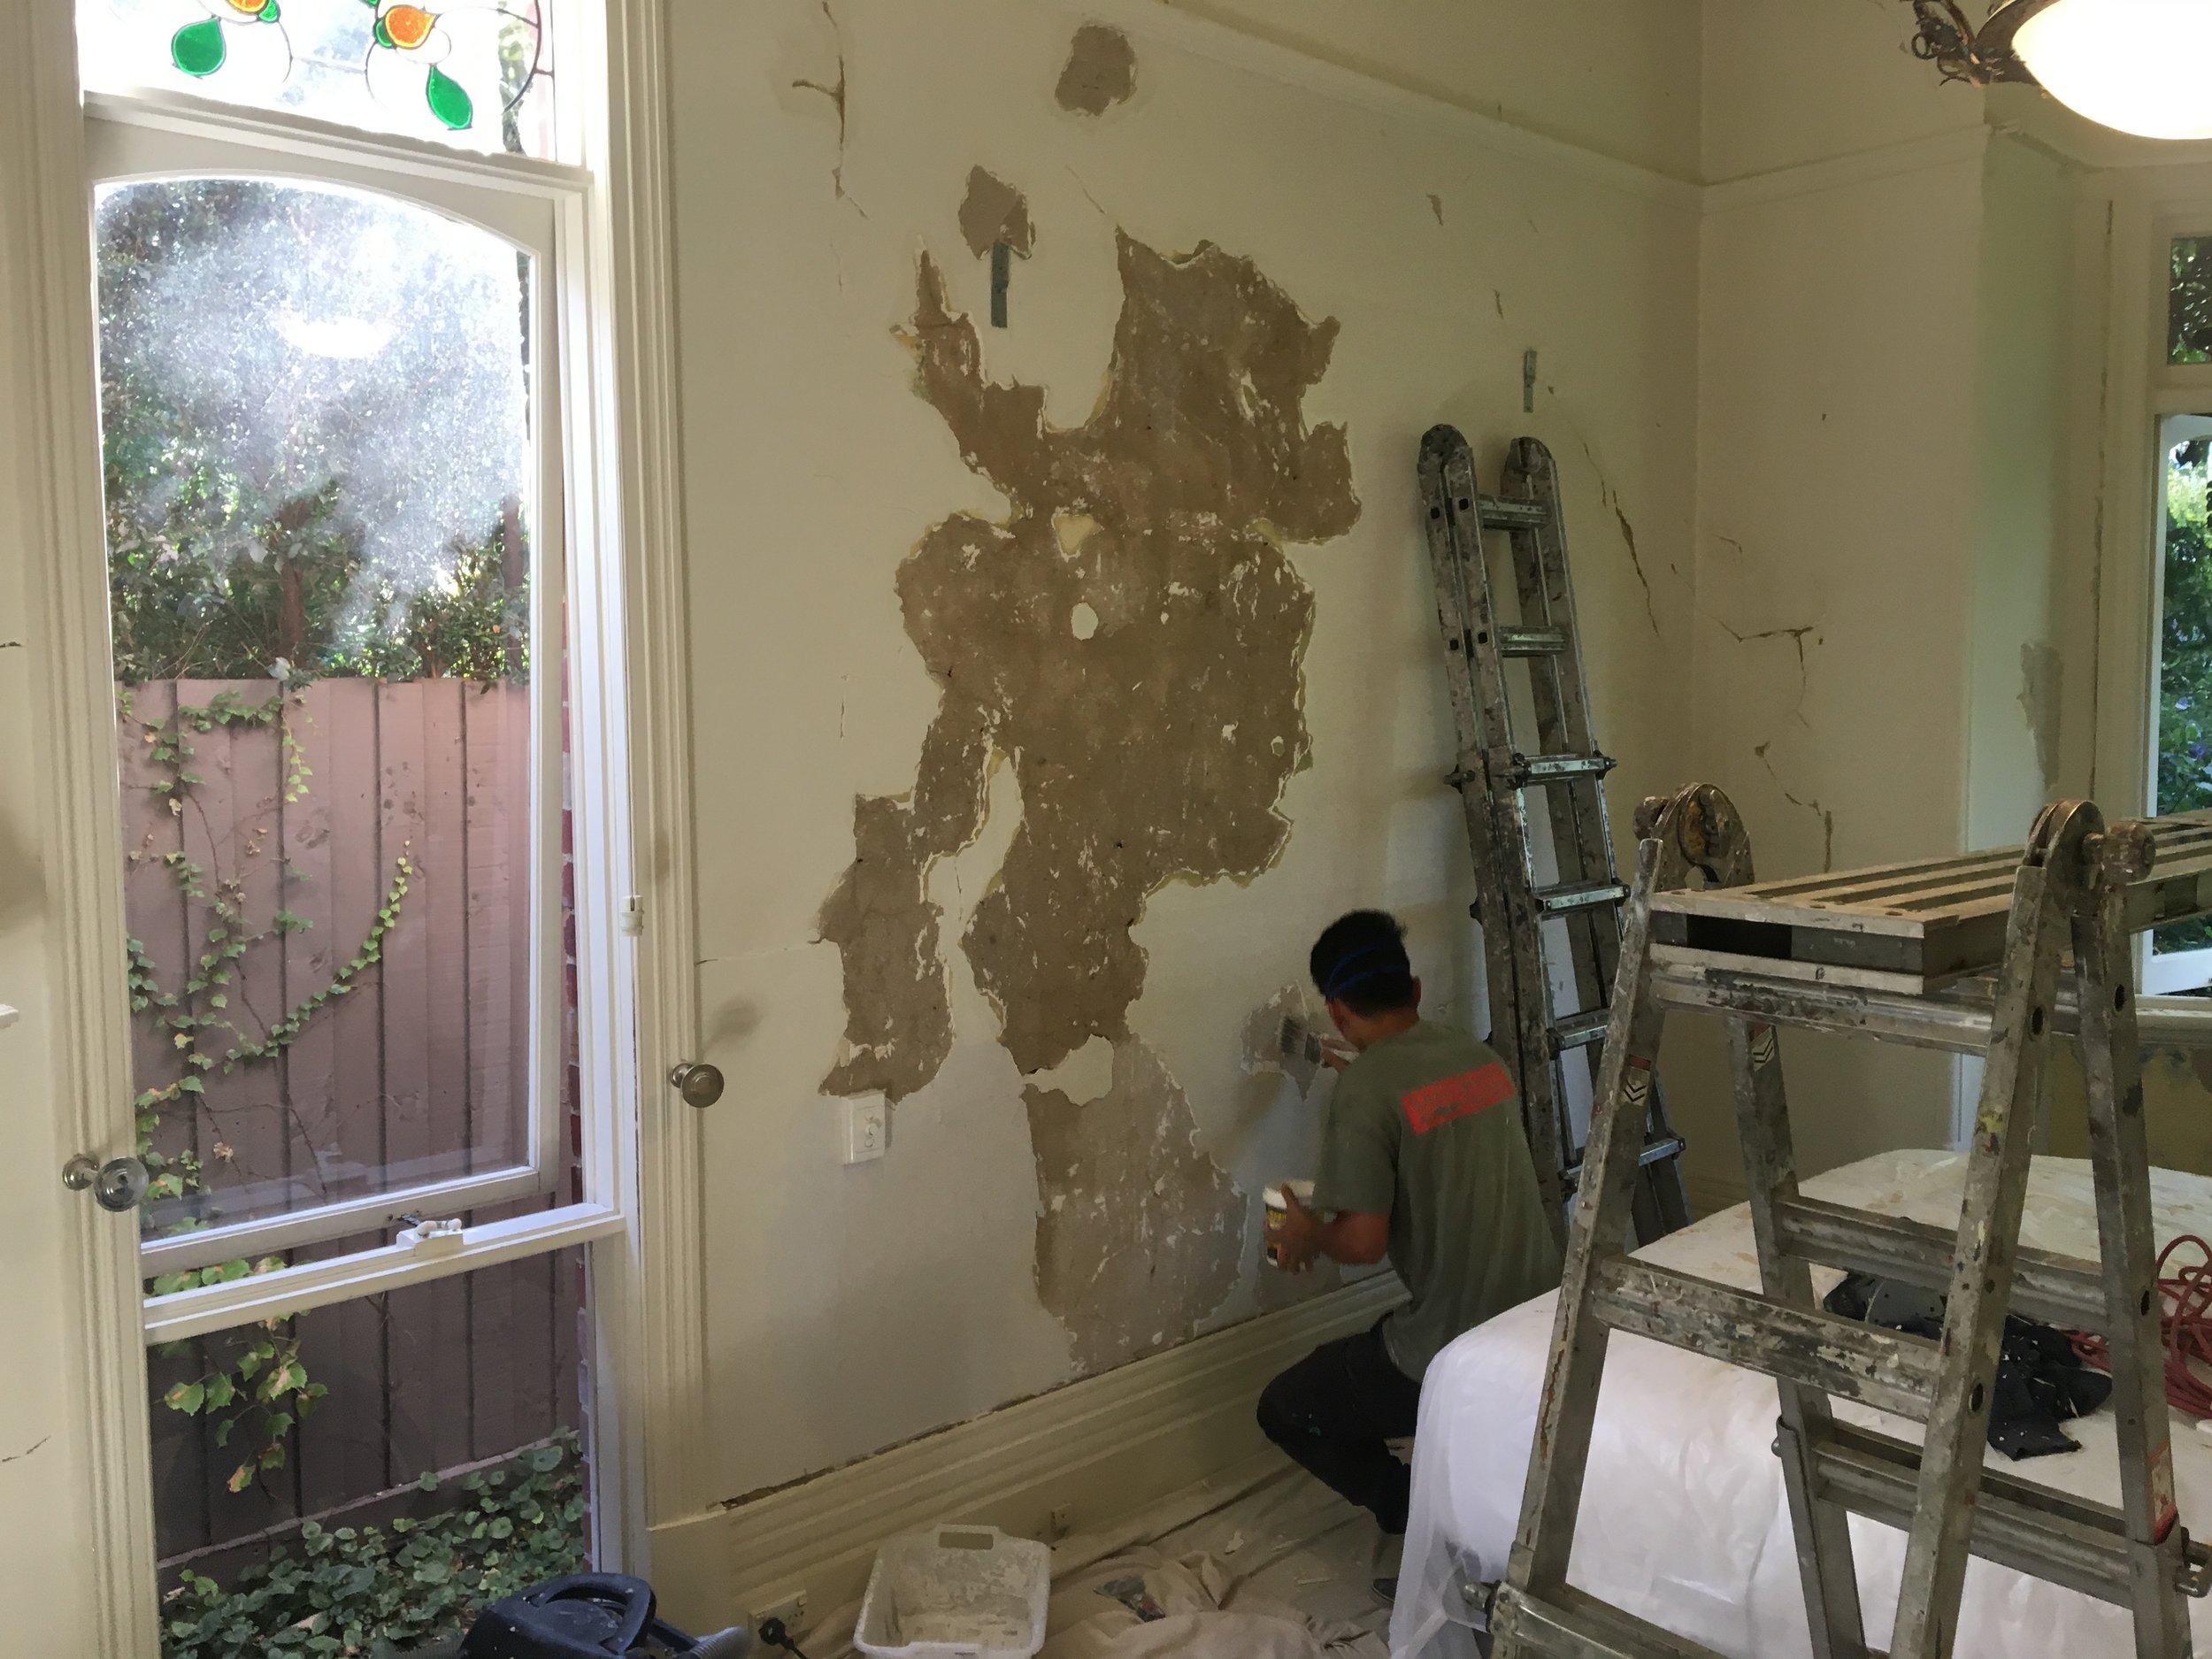
Loose plaster had to be removed  

IMG_2933.JPG
IMG_2935.JPG

The ceiling was covered with lining paper to cover some of the issues with cracks. All the paper came off very easily. So we replastered the entire ceiling back to original condition, well pretty dam close 👍🏼

IMG_2944.JPG
IMG_2975.JPG
IMG_3028.JPG
IMG_3029.JPG

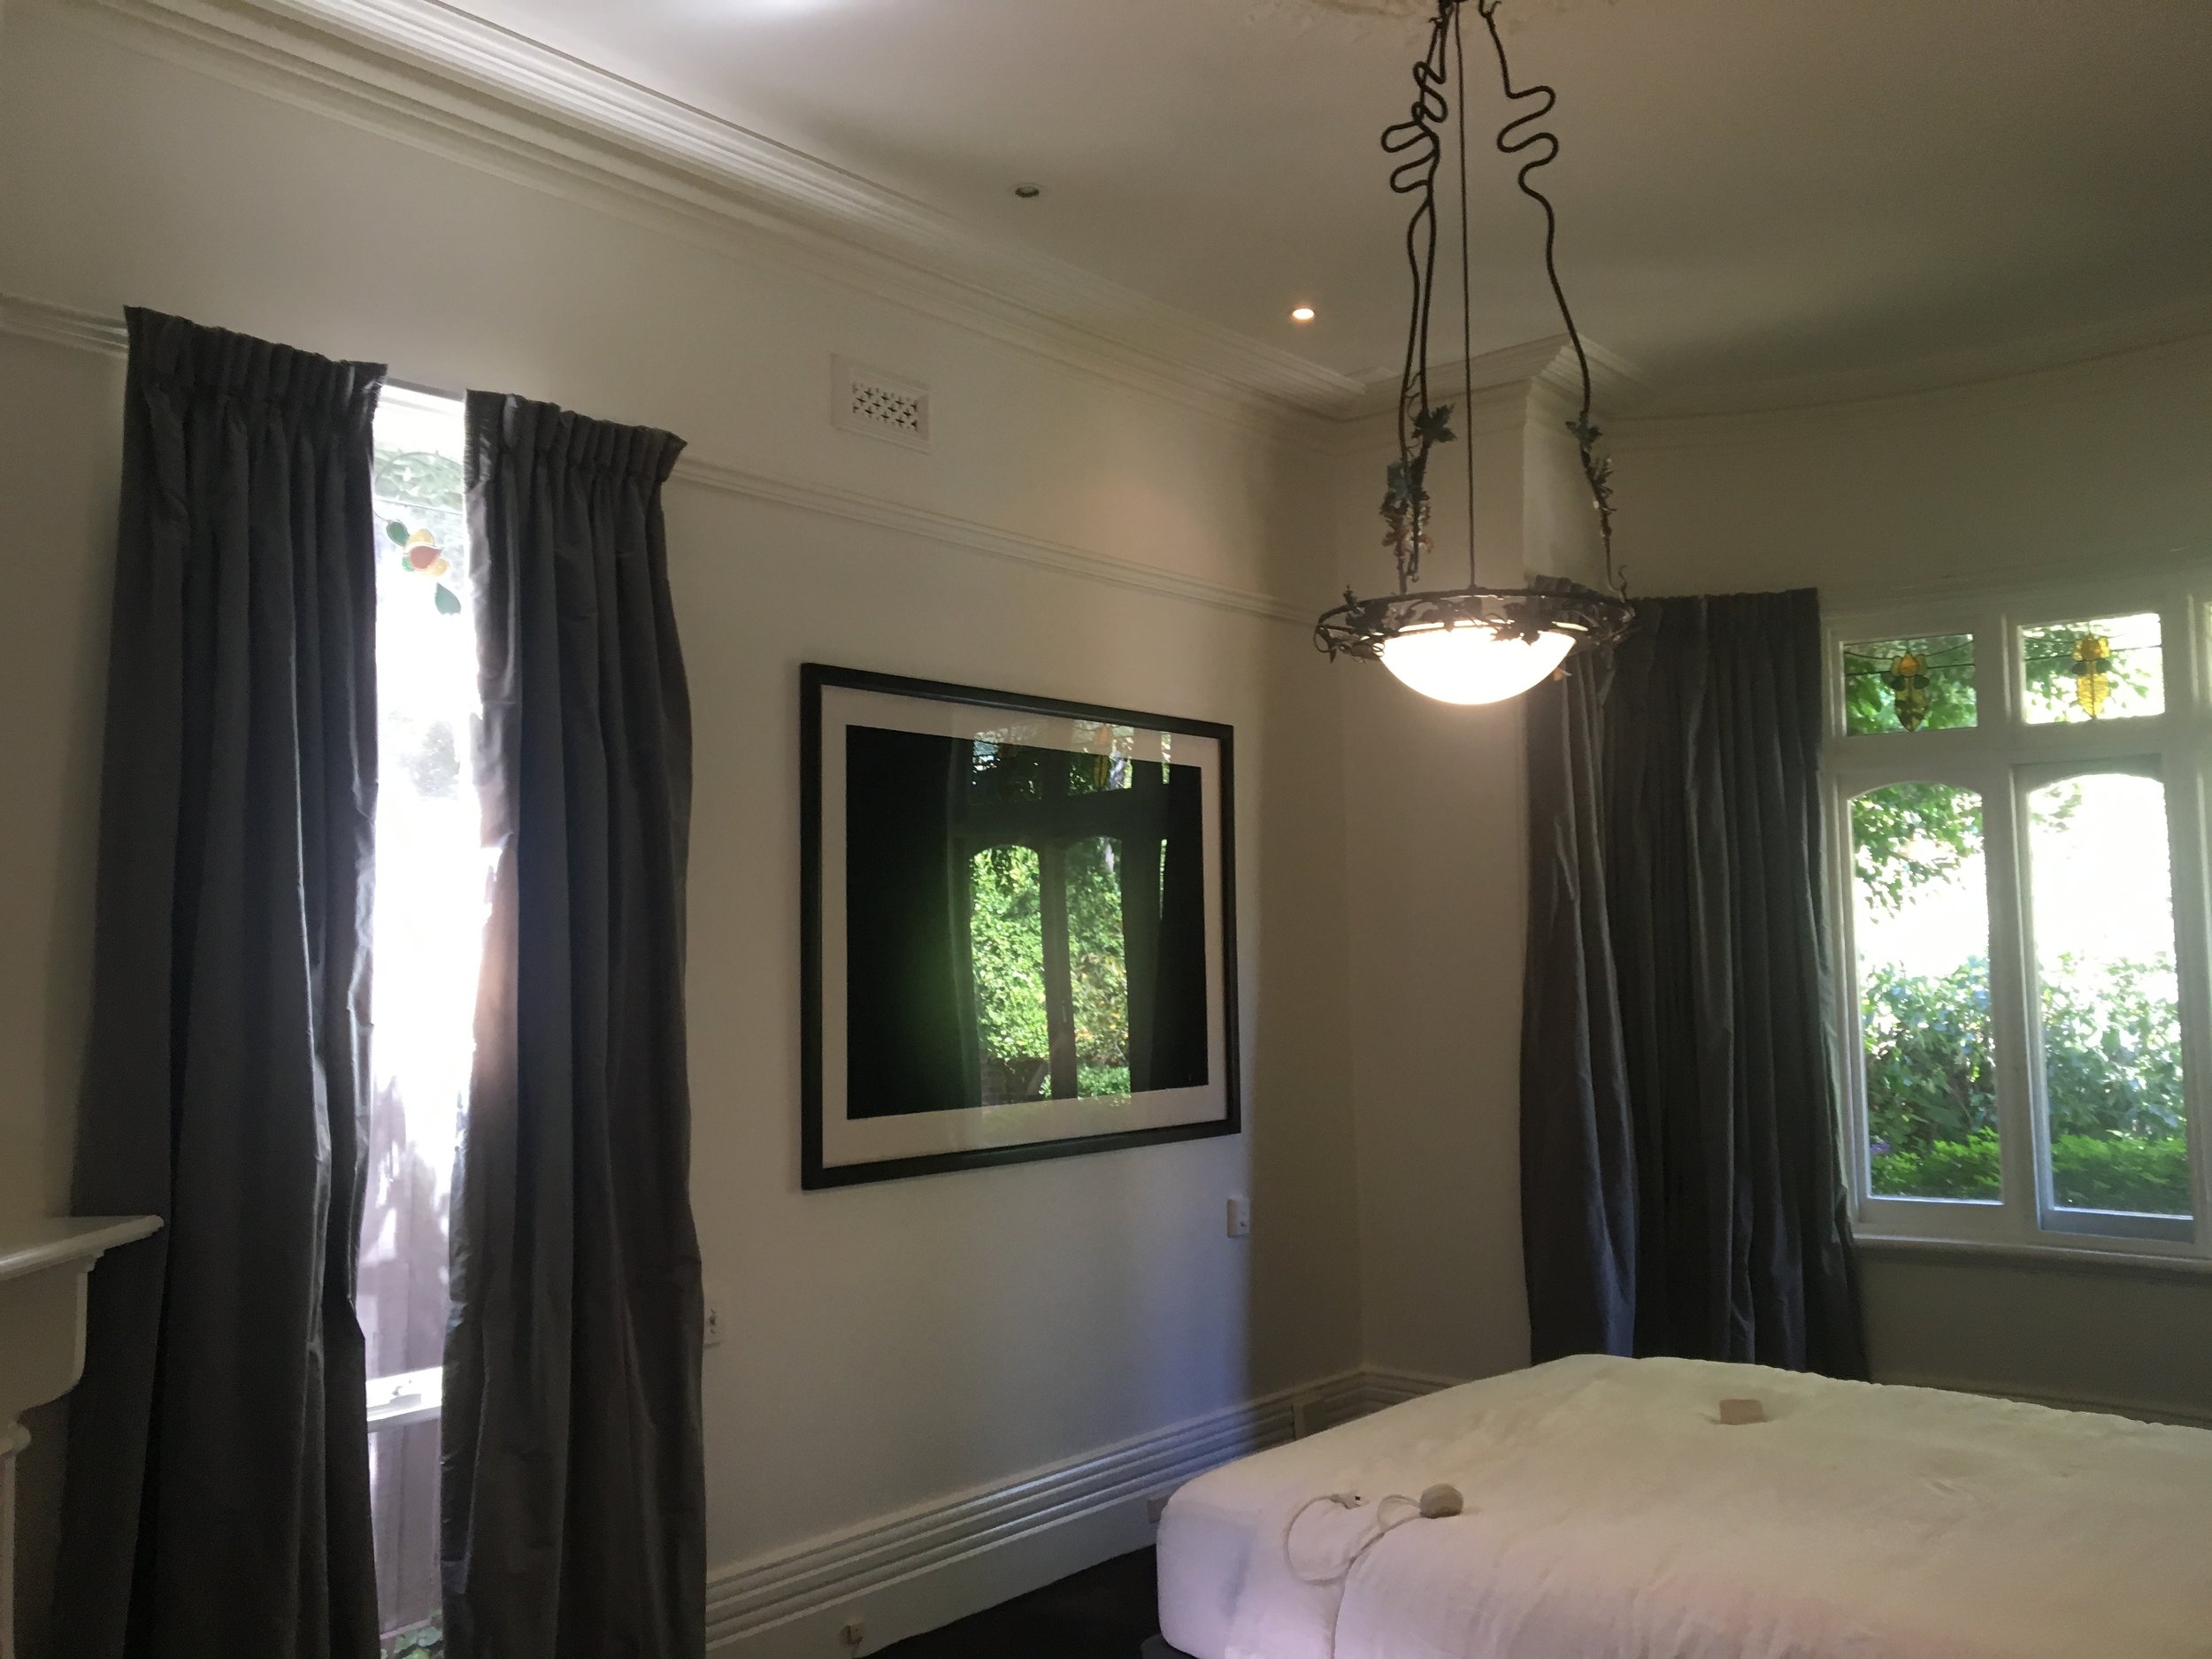
Finally the finished project 

First room room completed about 6 to go 😊

Bench tops finished Front deck give a bit of love

Always great working away from the city. Point Leo is such a beautiful part of the wold.  

IMG_3014.JPG
IMG_3015.JPG

Just the front edge of the deck was looking a bit dry. A light sand with the Festool and first coat of intergrain. Once that soaks in and drys off the gloss will dull down leaving a more natural looking finish.

I’ll put another coat on in a few weeks time and it’ll be all good for another year or so 

IMG_3016.JPG
FullSizeRender.jpg
IMG_2892.JPG

These back boards do cop a lot of coastal sunshine and weather.  Was time to give them a good sand back, undercoat and 2 finish coats of Taubmans endure exterior Lowsheen. 

IMG_2893.JPG
IMG_2894.JPG

Shrinkage 🙄

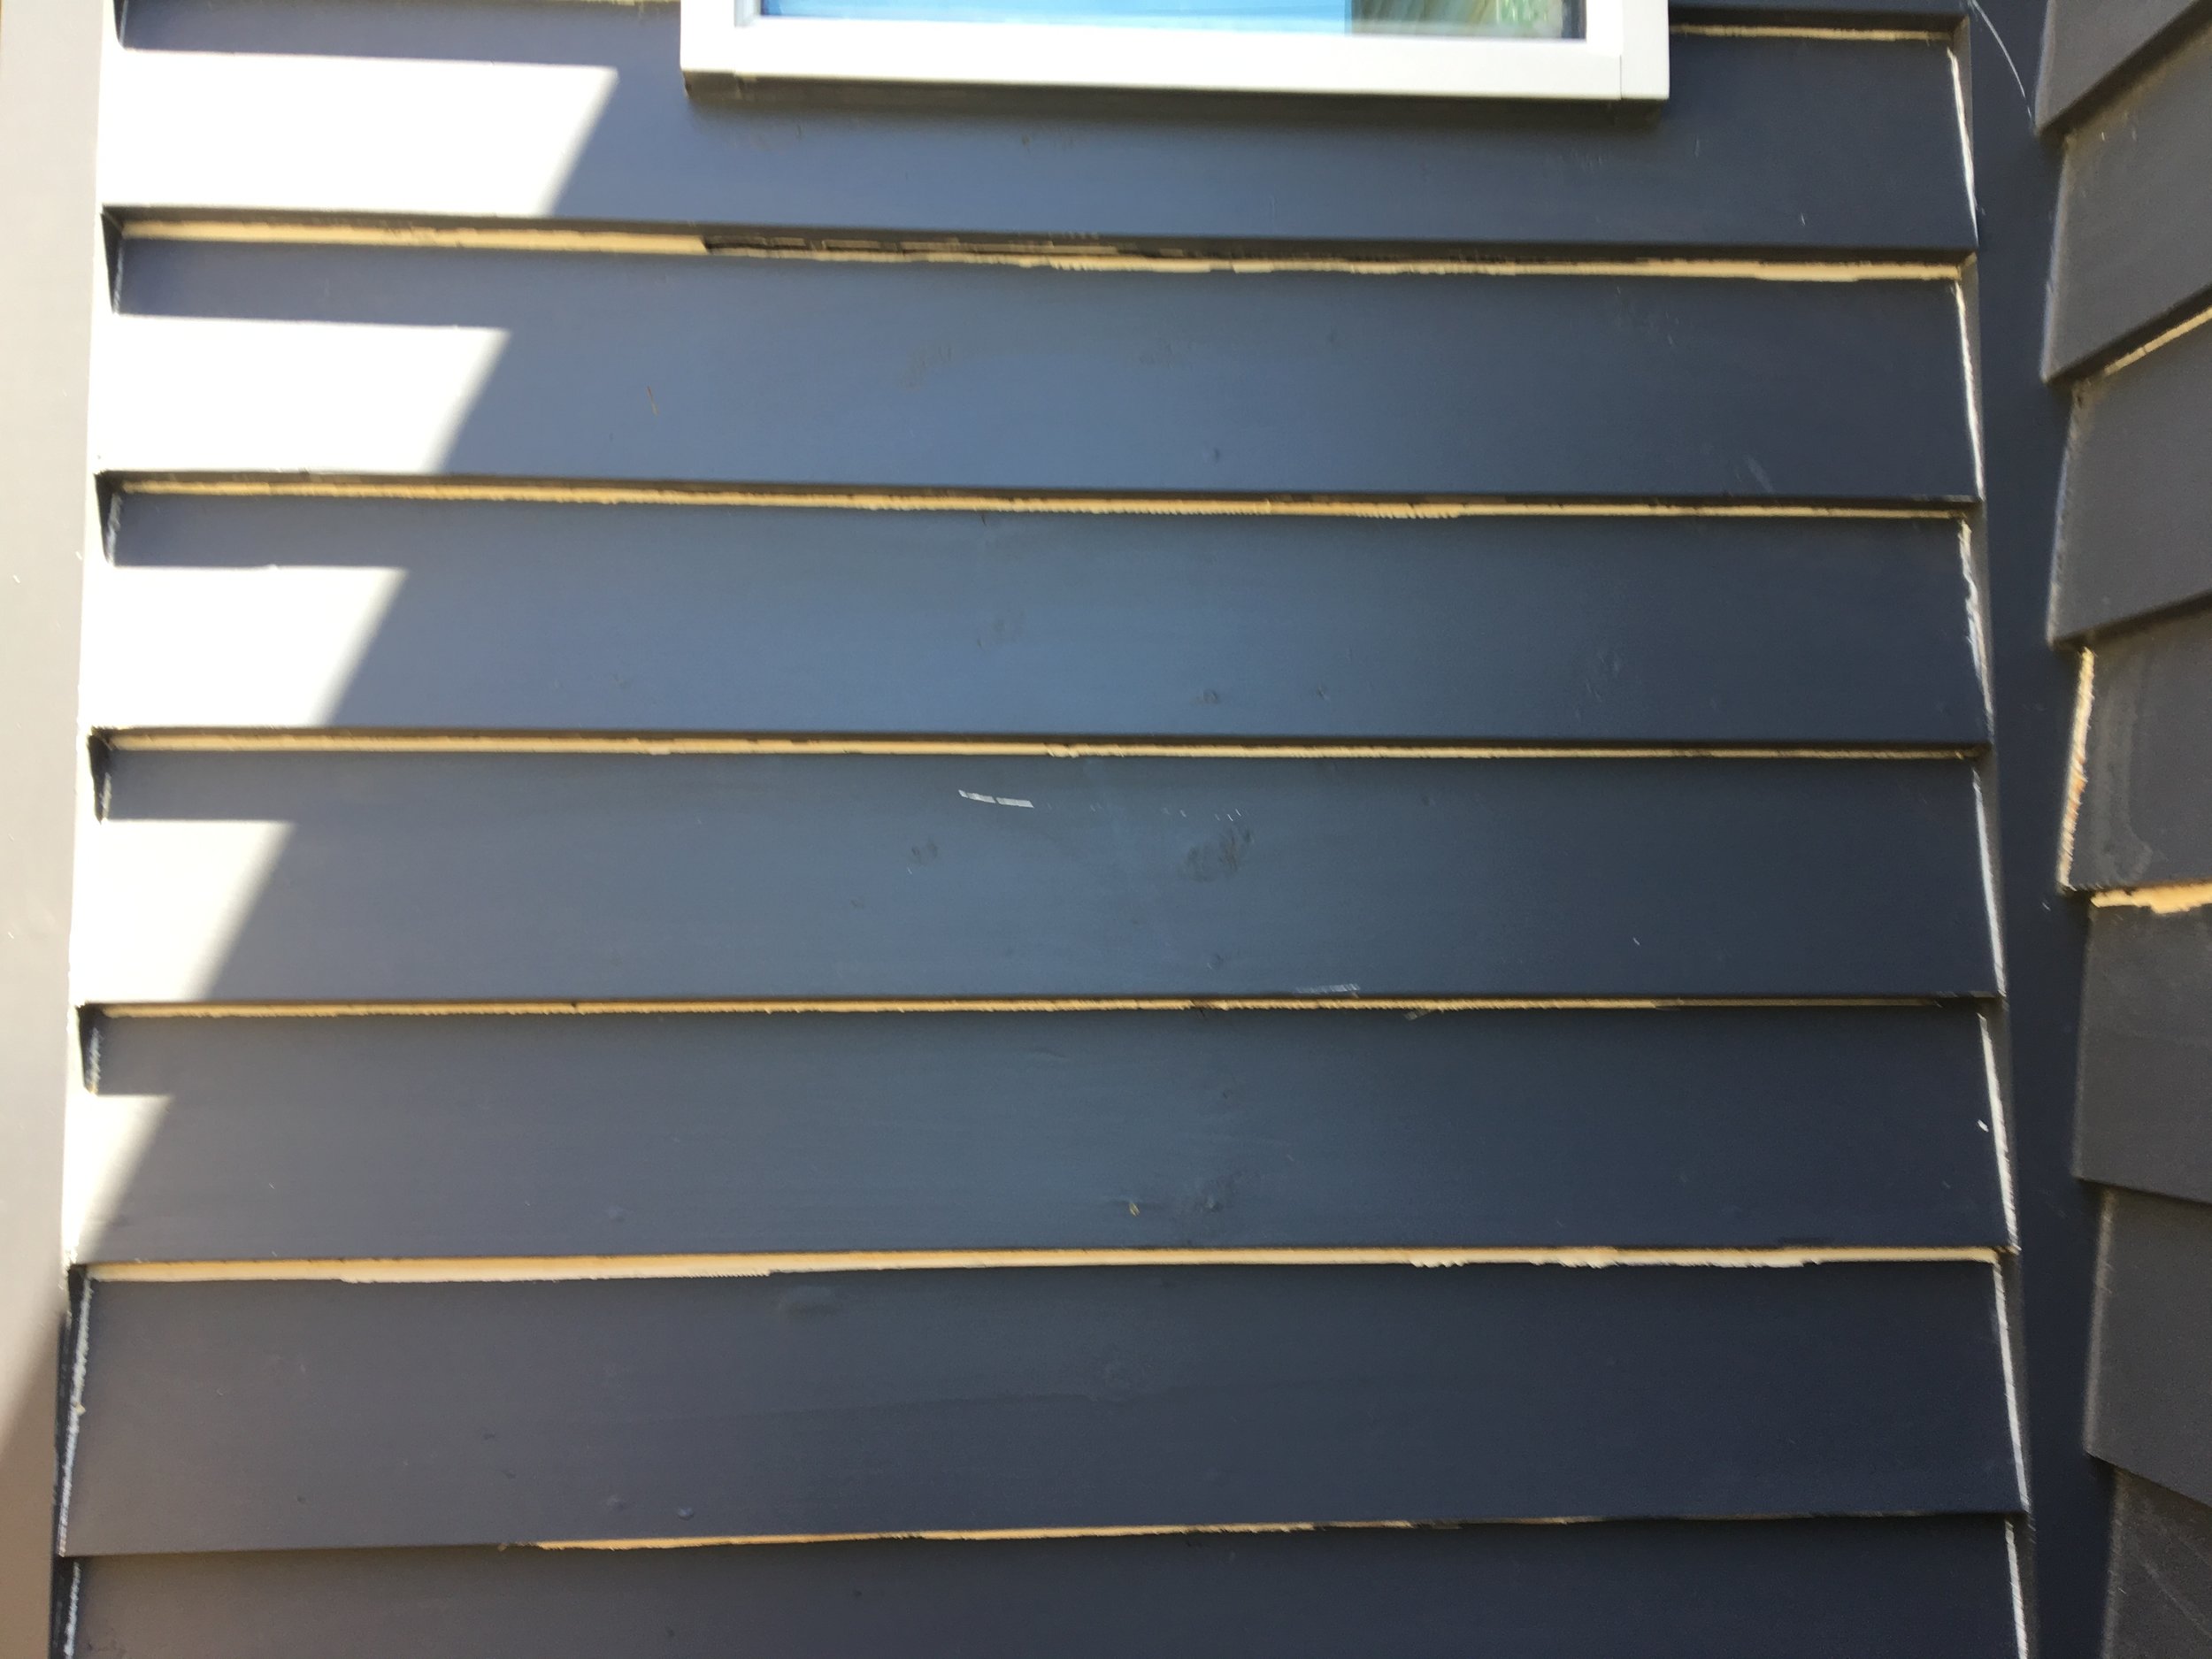
This is what can happen when you paint your place in a really dark colour.  

Because of the sun and possibly still very green timber. As soon as the hot weather kicks in everything heats up And this is what can happen.  

IMG_2689.JPG

Old boards also have a tendency to bubble in some spots where it gets a lot of direct sunlight or heavy sun.  

This is very hard to detect when starting a project. Even with a lot of preparation. Best solution is to rip it back to bare timber and start the prep again.  

IMG_2686.JPG
IMG_2687.JPG

Finshed results amazing 👍🏼

IMG_2692.JPG

We’re serious about helping others

Here at Mat White Painting & Stick  Wooden Surfboards where pretty serious about helping others. We know we can’t fix world problems but we can make small loans to lots of individuals and to the ASRC.

Helping with education, employment, medical assistance, leagals, community engagement and maybe even buying a few more cows or seeds for planting to help a family live a better life .


IMG_2489.JPG

This year by selling our Stick caps we raised over $700 to donate to the ASRC. Thank you to everybody that bought a cap and joined the Stick wooden surfboards team. 

IMG_2685.PNG

KIVA is a great way to help others with only a few $$ 

IMG_2683.PNG

To date MWP has donated over $3500 to 103 peeps and groups in 34 different countries. 

IMG_2682.PNG

Thanks again to everybody that has been apart of our journey  

Mathew  

Big bucks doesn’t mean great finishes

When your spending over 2million  for a 2 bedroom apartment you would expect great finishes 

We were called in to re-prep and  repaint walls, doors, arcs and skirts as the quality of the finish that was done when then apartment was built was very poor...

Please when choosing a tradesman to do any work in your home do you research check up on the quality of what your tradesman can produce, get referrals, references it may take a little more effort initially but in the end less headaches and quality job... 

Appologies for the boring photos  

IMG_2599.JPG
IMG_2600.JPG

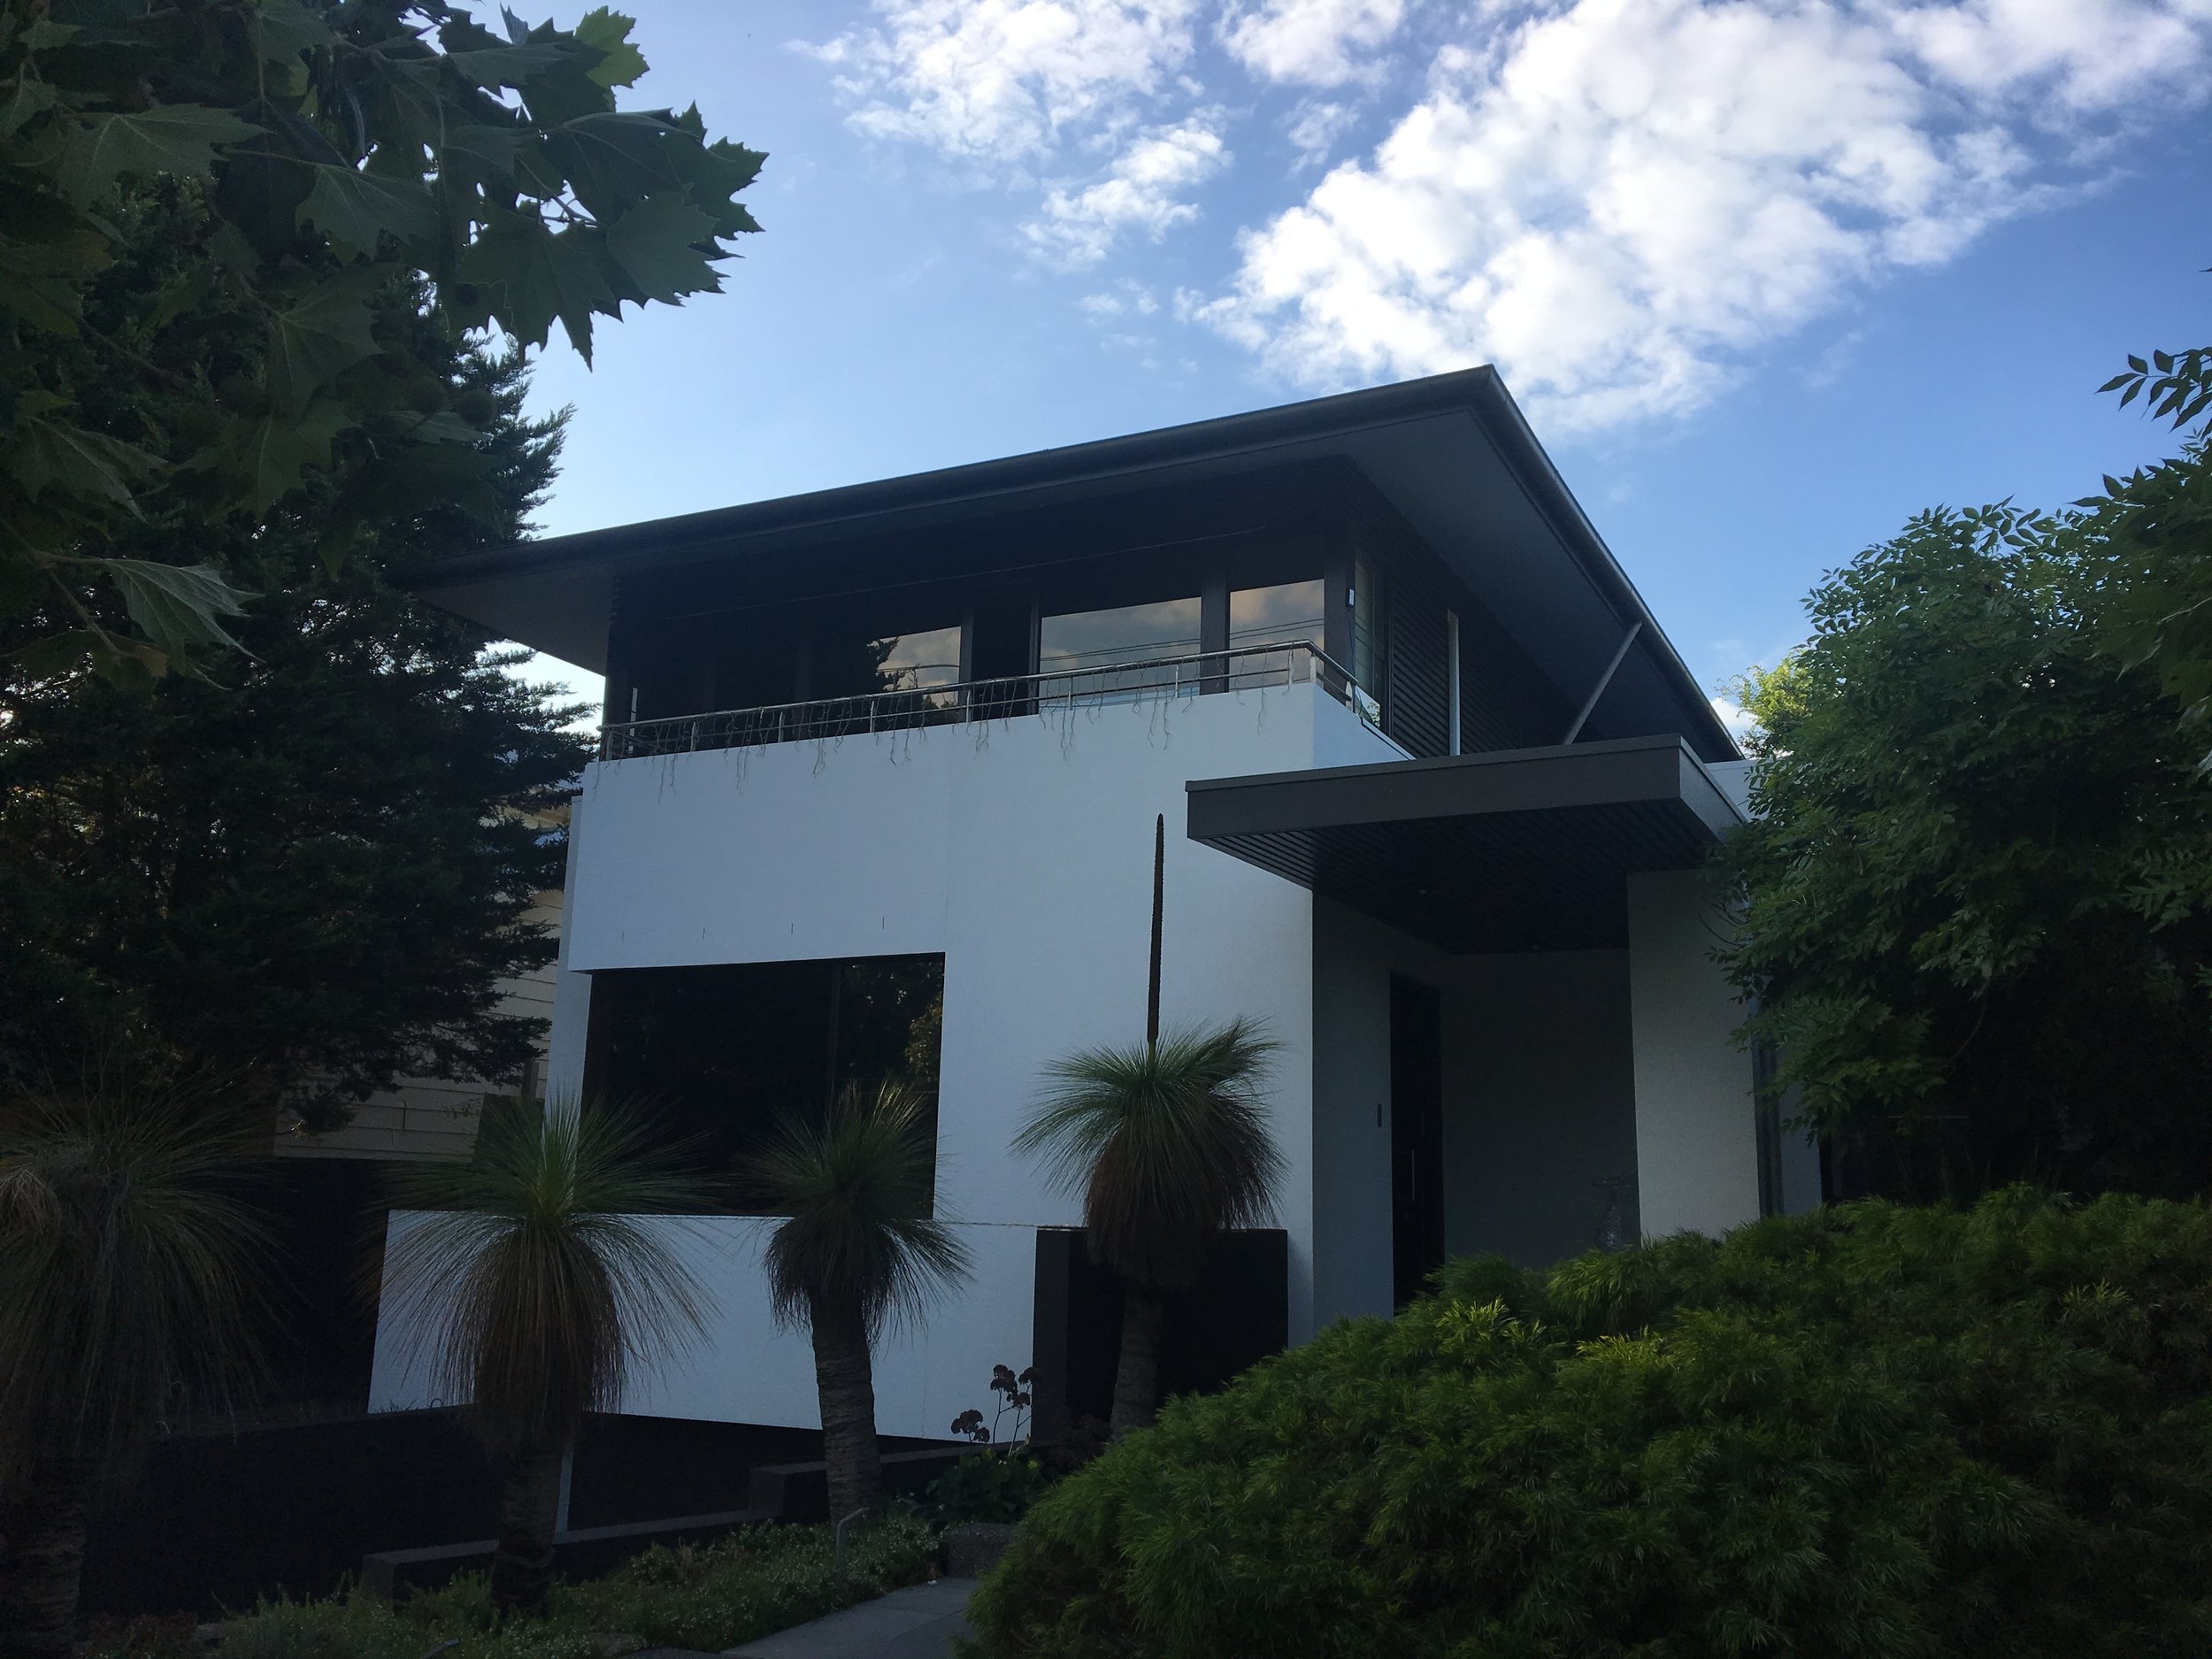
A new facelift for this bright beauty

What a super change for this home

All the walls painted in Taubmans endure Lowsheen exterior Dulux natural white

Timber battons that run all the way around the top story had to be sanded back and re varnished using a 3 stage process using sikkens cetol  ebony 

IMG_2349.JPG
IMG_2350.JPG
IMG_2357.JPG
IMG_2358.JPG

very old and pretty much stuffed deck, coated in Haymes dexpress, looks almost like new. Gives it a few more years life and at a faction of the cost to replace. Win win 

IMG_2425.JPG
IMG_2426.JPG

Before  

IMG_1755.JPG

Before

IMG_1761.JPG

New home for one of my paintings

My art has found a new home at my friend Belinda’s 

I painted this not long after we had the big fires outside of melbourne this was painted off a photo I took driving down malvern road,  every early morning on the Monday after that horrific weekend.

It was one of the most amazing sky’s I have ever seen. 

FullSizeRender.jpg
IMG_1981.JPG

This phot is a little distorted it’s much skinnier than this 😬 


Deck time in O.G

The new house has 2 decks one out front and this one out back (see below) both have been left uncared for for many years. The question was could we salvage what we had? 

IMG_1671.JPG

Over a few weekends we deck washed, scrubbed and water blasted all the grime and dirt off the deck. 

It was looking pretty done  

IMG_1882.JPG

Gave it a once over with the sander and splashed a few coats of oil on and we now have a deck that’s going to last another few bbq weekends....  


IMG_1911.JPG

It’s not perfect but we just saved ourselves a heap of $$$$ not having to replace all the timbers  

IMG_1907.JPG
IMG_1908.JPG